For the past 15 or so years I have been in possession of an Amiga 500 that only boots up to a green screen. I was supposed to buy it off of a friend, but it already had the issue when we tested it out so I got it for free. The machine had been my friend’s older brother’s back in the day. Other than that I didn’t know much about it. I only knew that a green screen meant it was some sort of memory issue, as I’d have learnt from asking about it on some forum (likely eab) at the time. That sounded too complicated to fix for me back then, so I just put it away and mostly forgot about it.
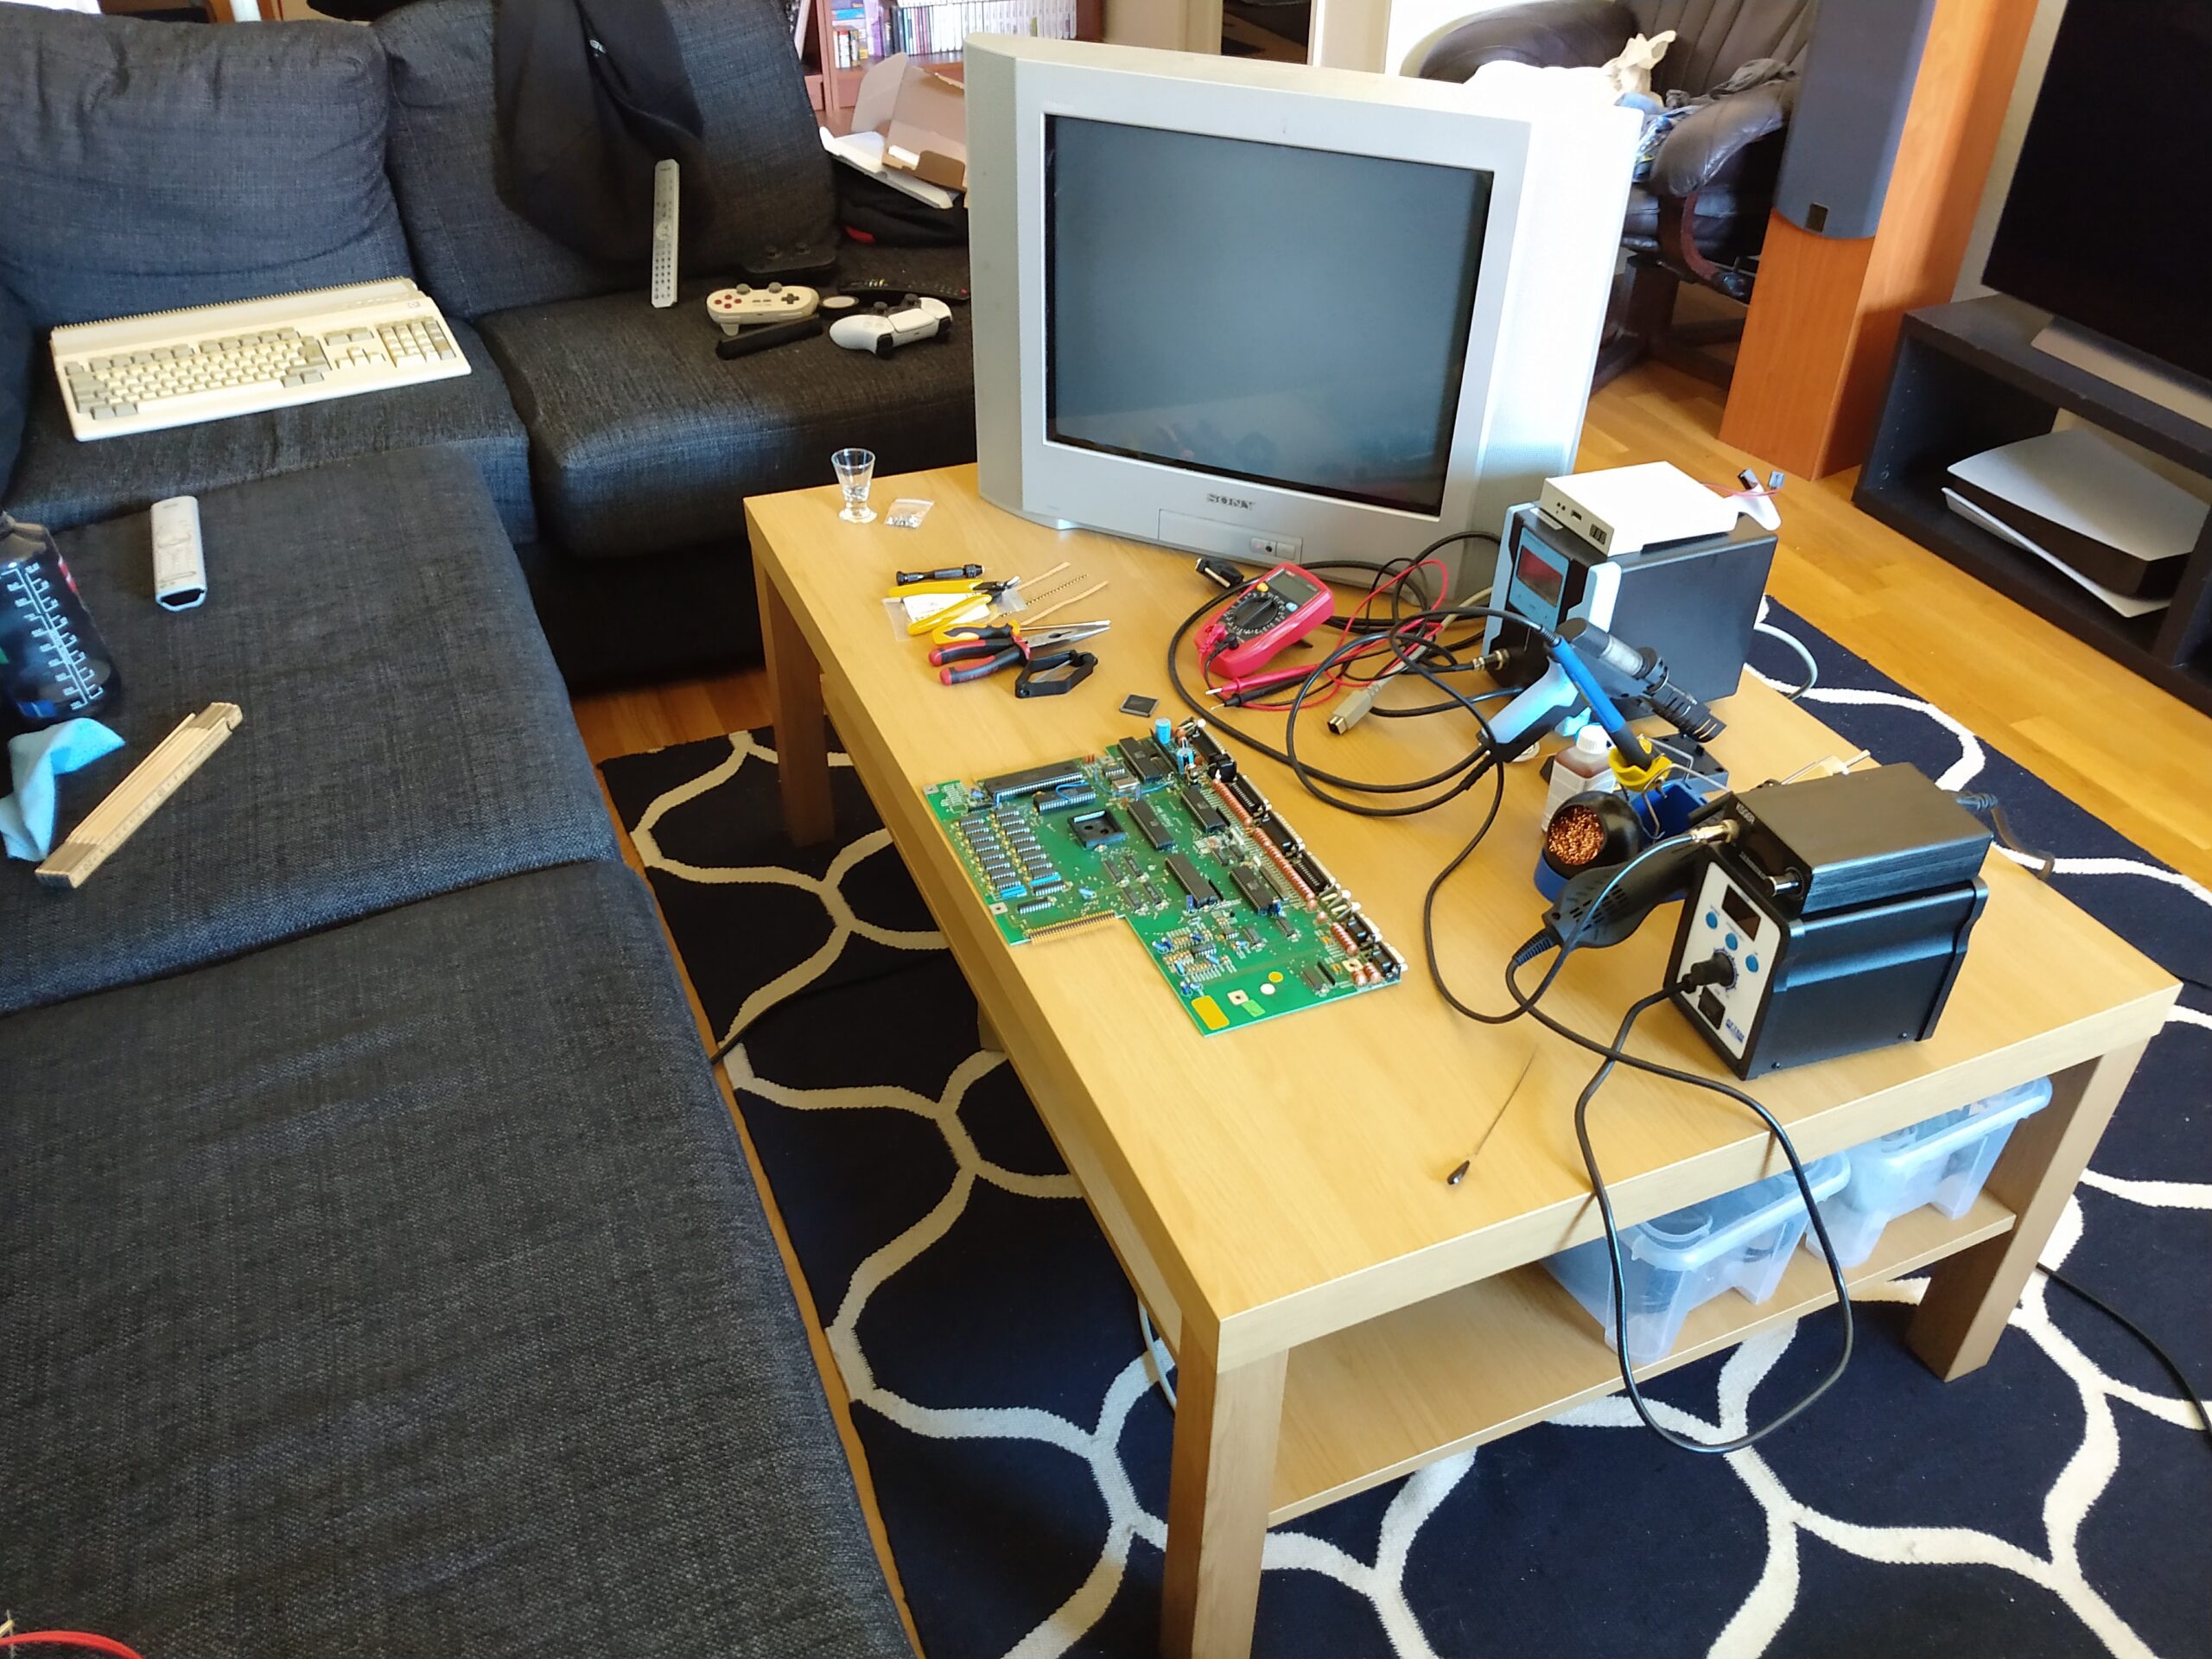
That is until I got another Amiga 500 earlier this year. A working one this time. At this point I was more interested in learning about the hardware of old computers like the Amiga and Atari ST, I owned some decent equipment for electronics work, and had been doing a bunch of advanced mods on my Atari STFM so my skills in soldering/desoldering were decent enough. I’d been doing some upgrades on the working A500 as well, and I started reading up more about the green screen issue and what the causes could be.
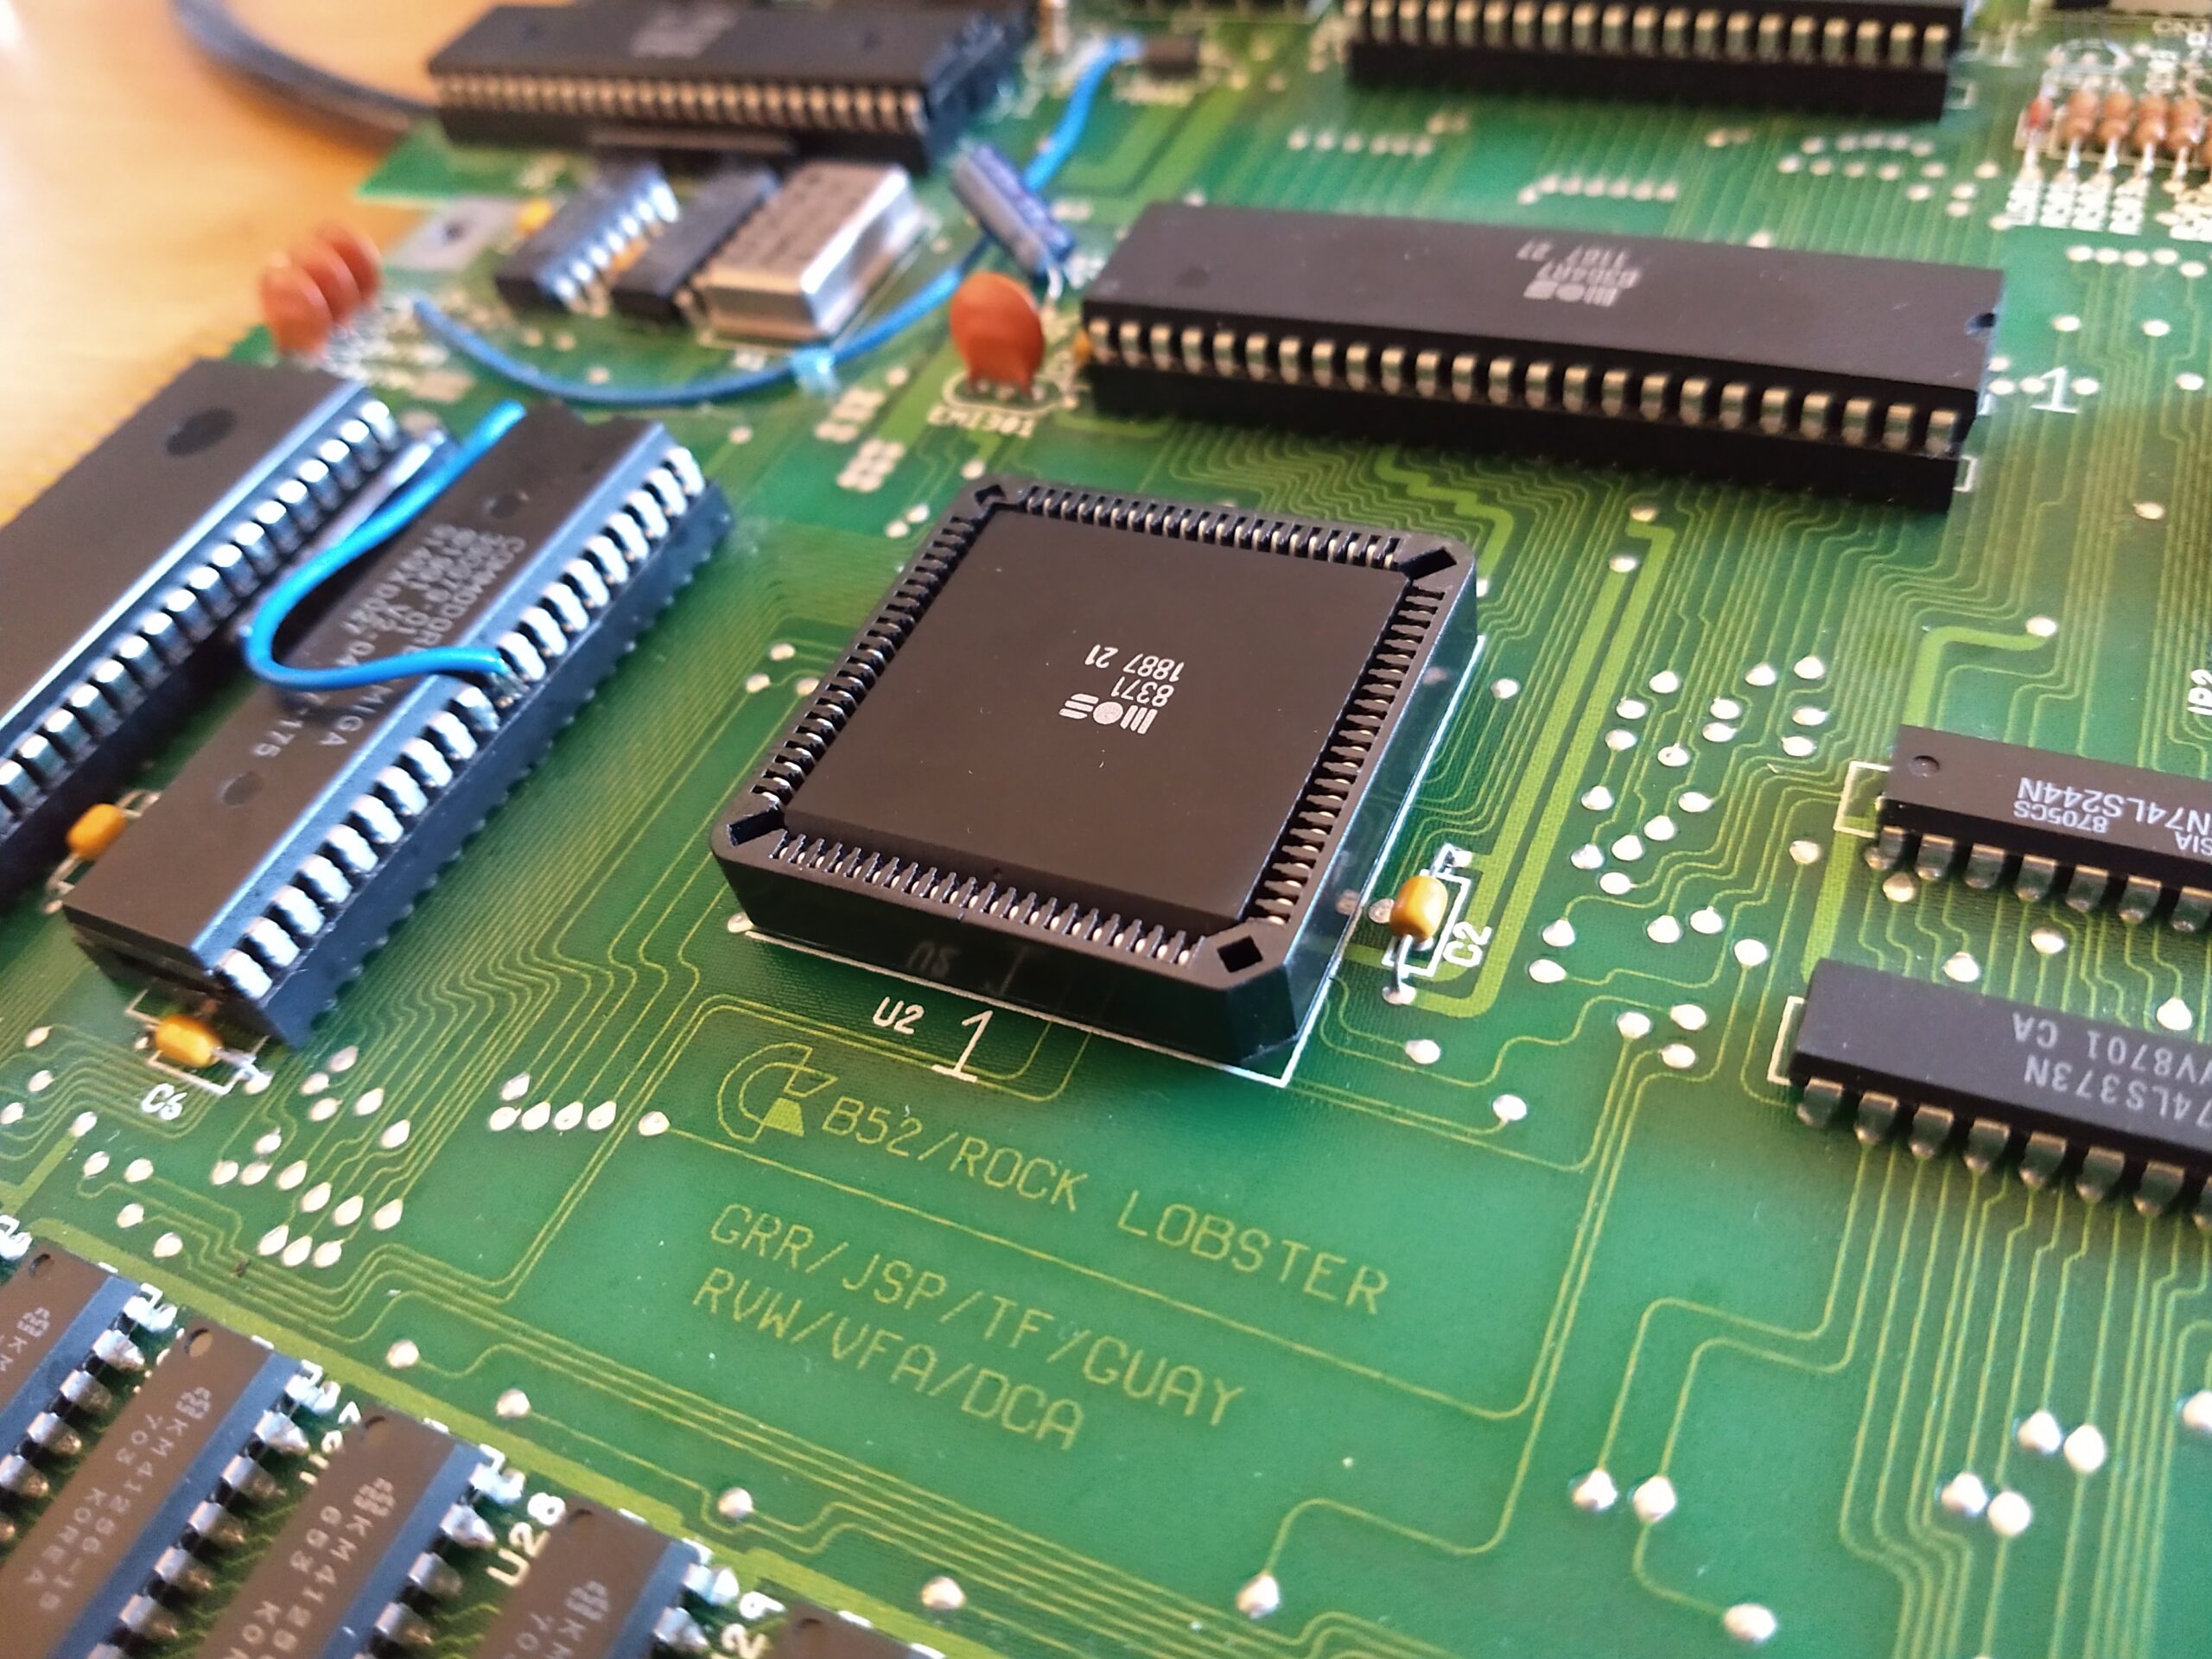
It was around this point that I finally noticed/realized how old the broken A500 appeared to be. The case serial number is 09897 Germany, and the board is a revision 3 board that appears to have been made in the 15th week of 87. It also has the “chicken lips” keyboard with the “space invaders” switches. At some point someone had installed a Kickstart 2.04 ROM in there, but that was the extent of the modifications done to it. For comparison the serial number of the working A500 is 1.3 Million-something, also made in Germany, and it’s a revision 6a board from around 90-91. Most of the chips on the board are from early to mid 87, and one of the CIA chips is actually from the 7th week of 86! So potentially one of the first 10 000 A500s manufactured in Germany going by the serial number. Now I just had to bring it back to life.
A green screen on bootup is caused by a fault with the first 256k of chip ram, and according to this page can have the following causes:
- Agnus chip or socket
- Gary chip
- RAM chips
Reading around a bit it seemed that either the Agnus chip or its socket were one of the most common causes. So I bought a new Agnus 8371 as well as a socket and set up my “workstation” and set out to replace them.
After setting up all the tools I took out the old Agnus chip from the socket and started to desolder the socket itself. I’d never desoldered a PLCC socket before and expected it to be quite a bit of work, especially with it having 84 pins. Having desoldered DIP chips previously I had found that just the desoldering station won’t be enough. You have to finish it off with the hot air station. But to my surprise the pins desoldered very cleanly and I ended up not needing the hot air station at all. Just some tweezers to wiggle some pins free from the holes.
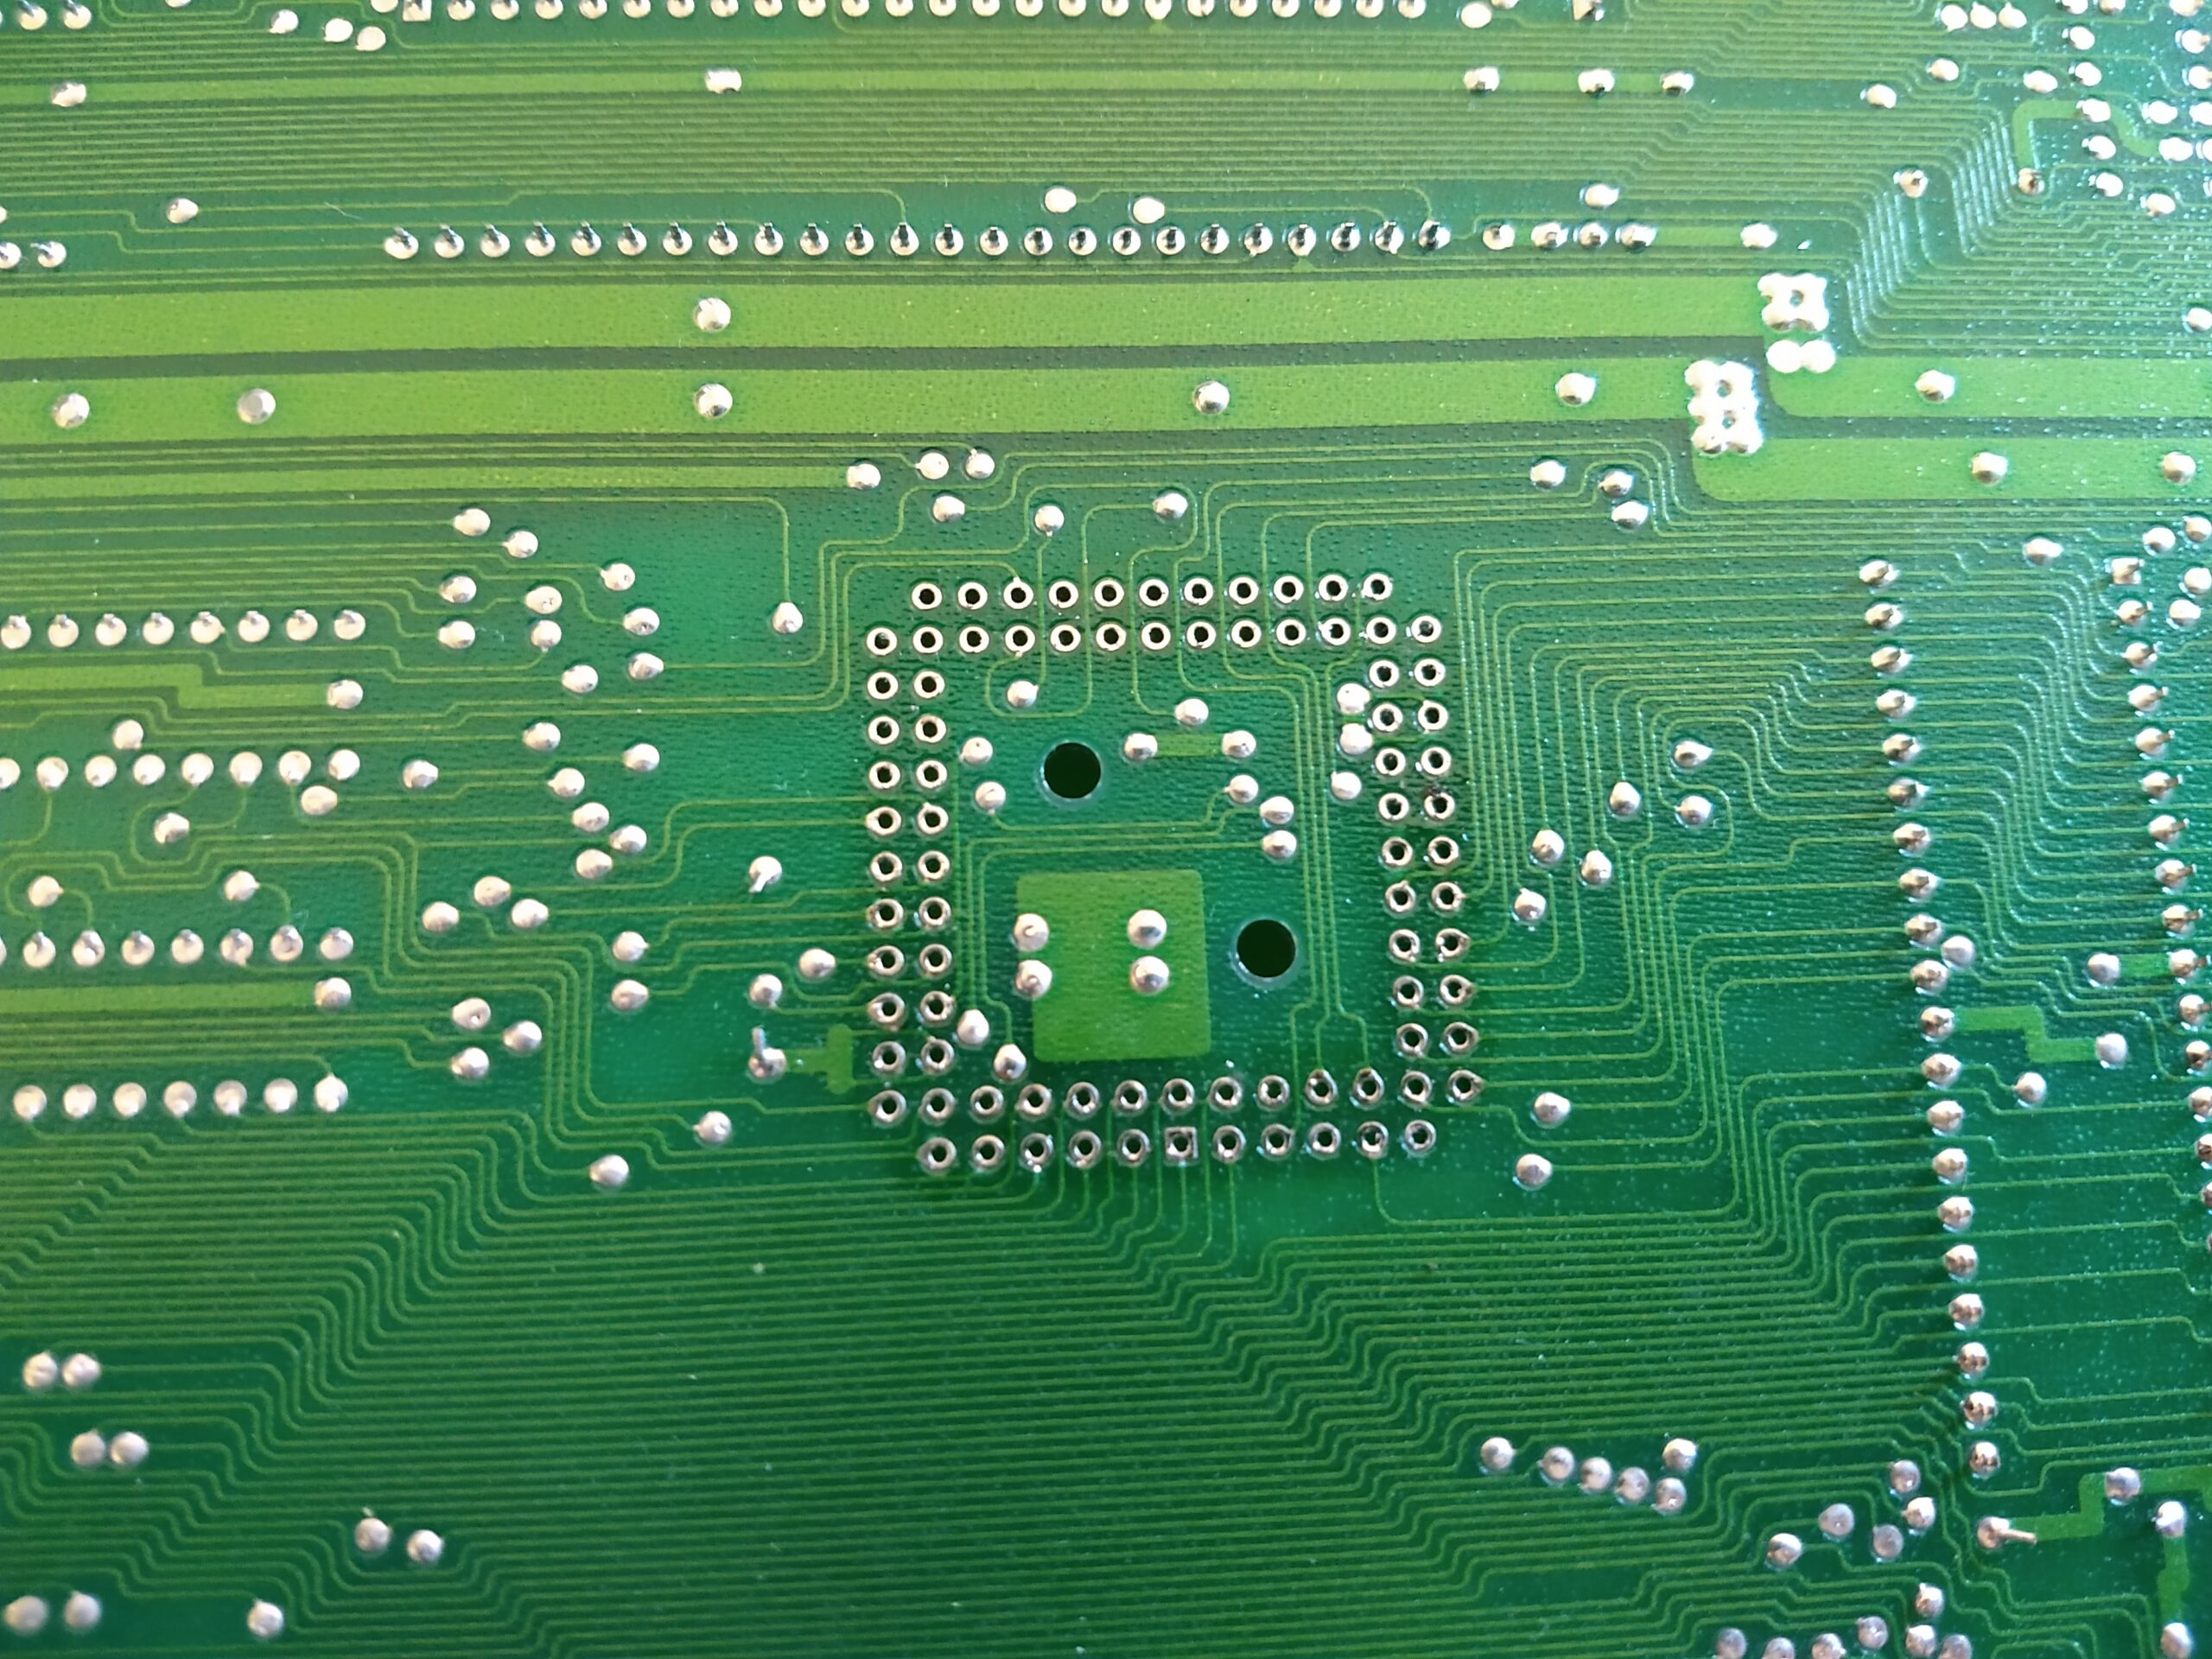
I ended up bending some of the pins of the old socket while taking it out, since they were still gripping the board a bit. But no matter. I was replacing it anyway. So I installed the new socket and put the new chip in there.
That went well enough. What was the result then?
Hmm. It seems like this fault is more stubborn than I thought. I put the old Agnus chip back in since it is likely fine, and kept the new one as a spare. At this point I took a break from the project for a week or so. In the meantime I read up on other likely causes.
The Agnus chip or socket we’ve ruled out at this point. Since I now have another working A500 I put the Gary chip in that machine. And it worked fine. It could also be the socket for the custom chips, Gary included, that aren’t making good contact. The rev 3 boards have single wipe sockets that are quite cheap. But I tested continuity from the legs of all the chips to the soldered side of the pins of the sockets and they all connect. That seems to leave the RAM chips themselves. But reading around some more (here for example) it appears it can also be caused by faults elsewhere, with the 74-series logic chips used for buffer and on the data path being another very likely cause. So I ordered new 74F244, 74LS244, and 74LS373 chips as well as turned pin sockets to put them in. I also preemptively ordered 16 turned pin sockets for the RAM chips should I have to desolder those, but I was really hoping I didn’t and that the fault would be a more simple swap of the logic chips.
Once I got the chips and sockets I started the work the following weekend. Starting with replacing the 74F244 chips used as buffer. That didn’t help, so I replaced the logic chips on the data path one by one. No difference whatsoever. So now unless there’s a broken trace somewhere it does appear to be the RAM chips. The board looks very clean and I can’t see any broken traces anywhere, although to make sure it’s not some bad solder joints I reflowed the solder to the Gary socket and a bunch of other sockets as well. But nothing got rid of the green screen so I finally started removing the RAM chips.
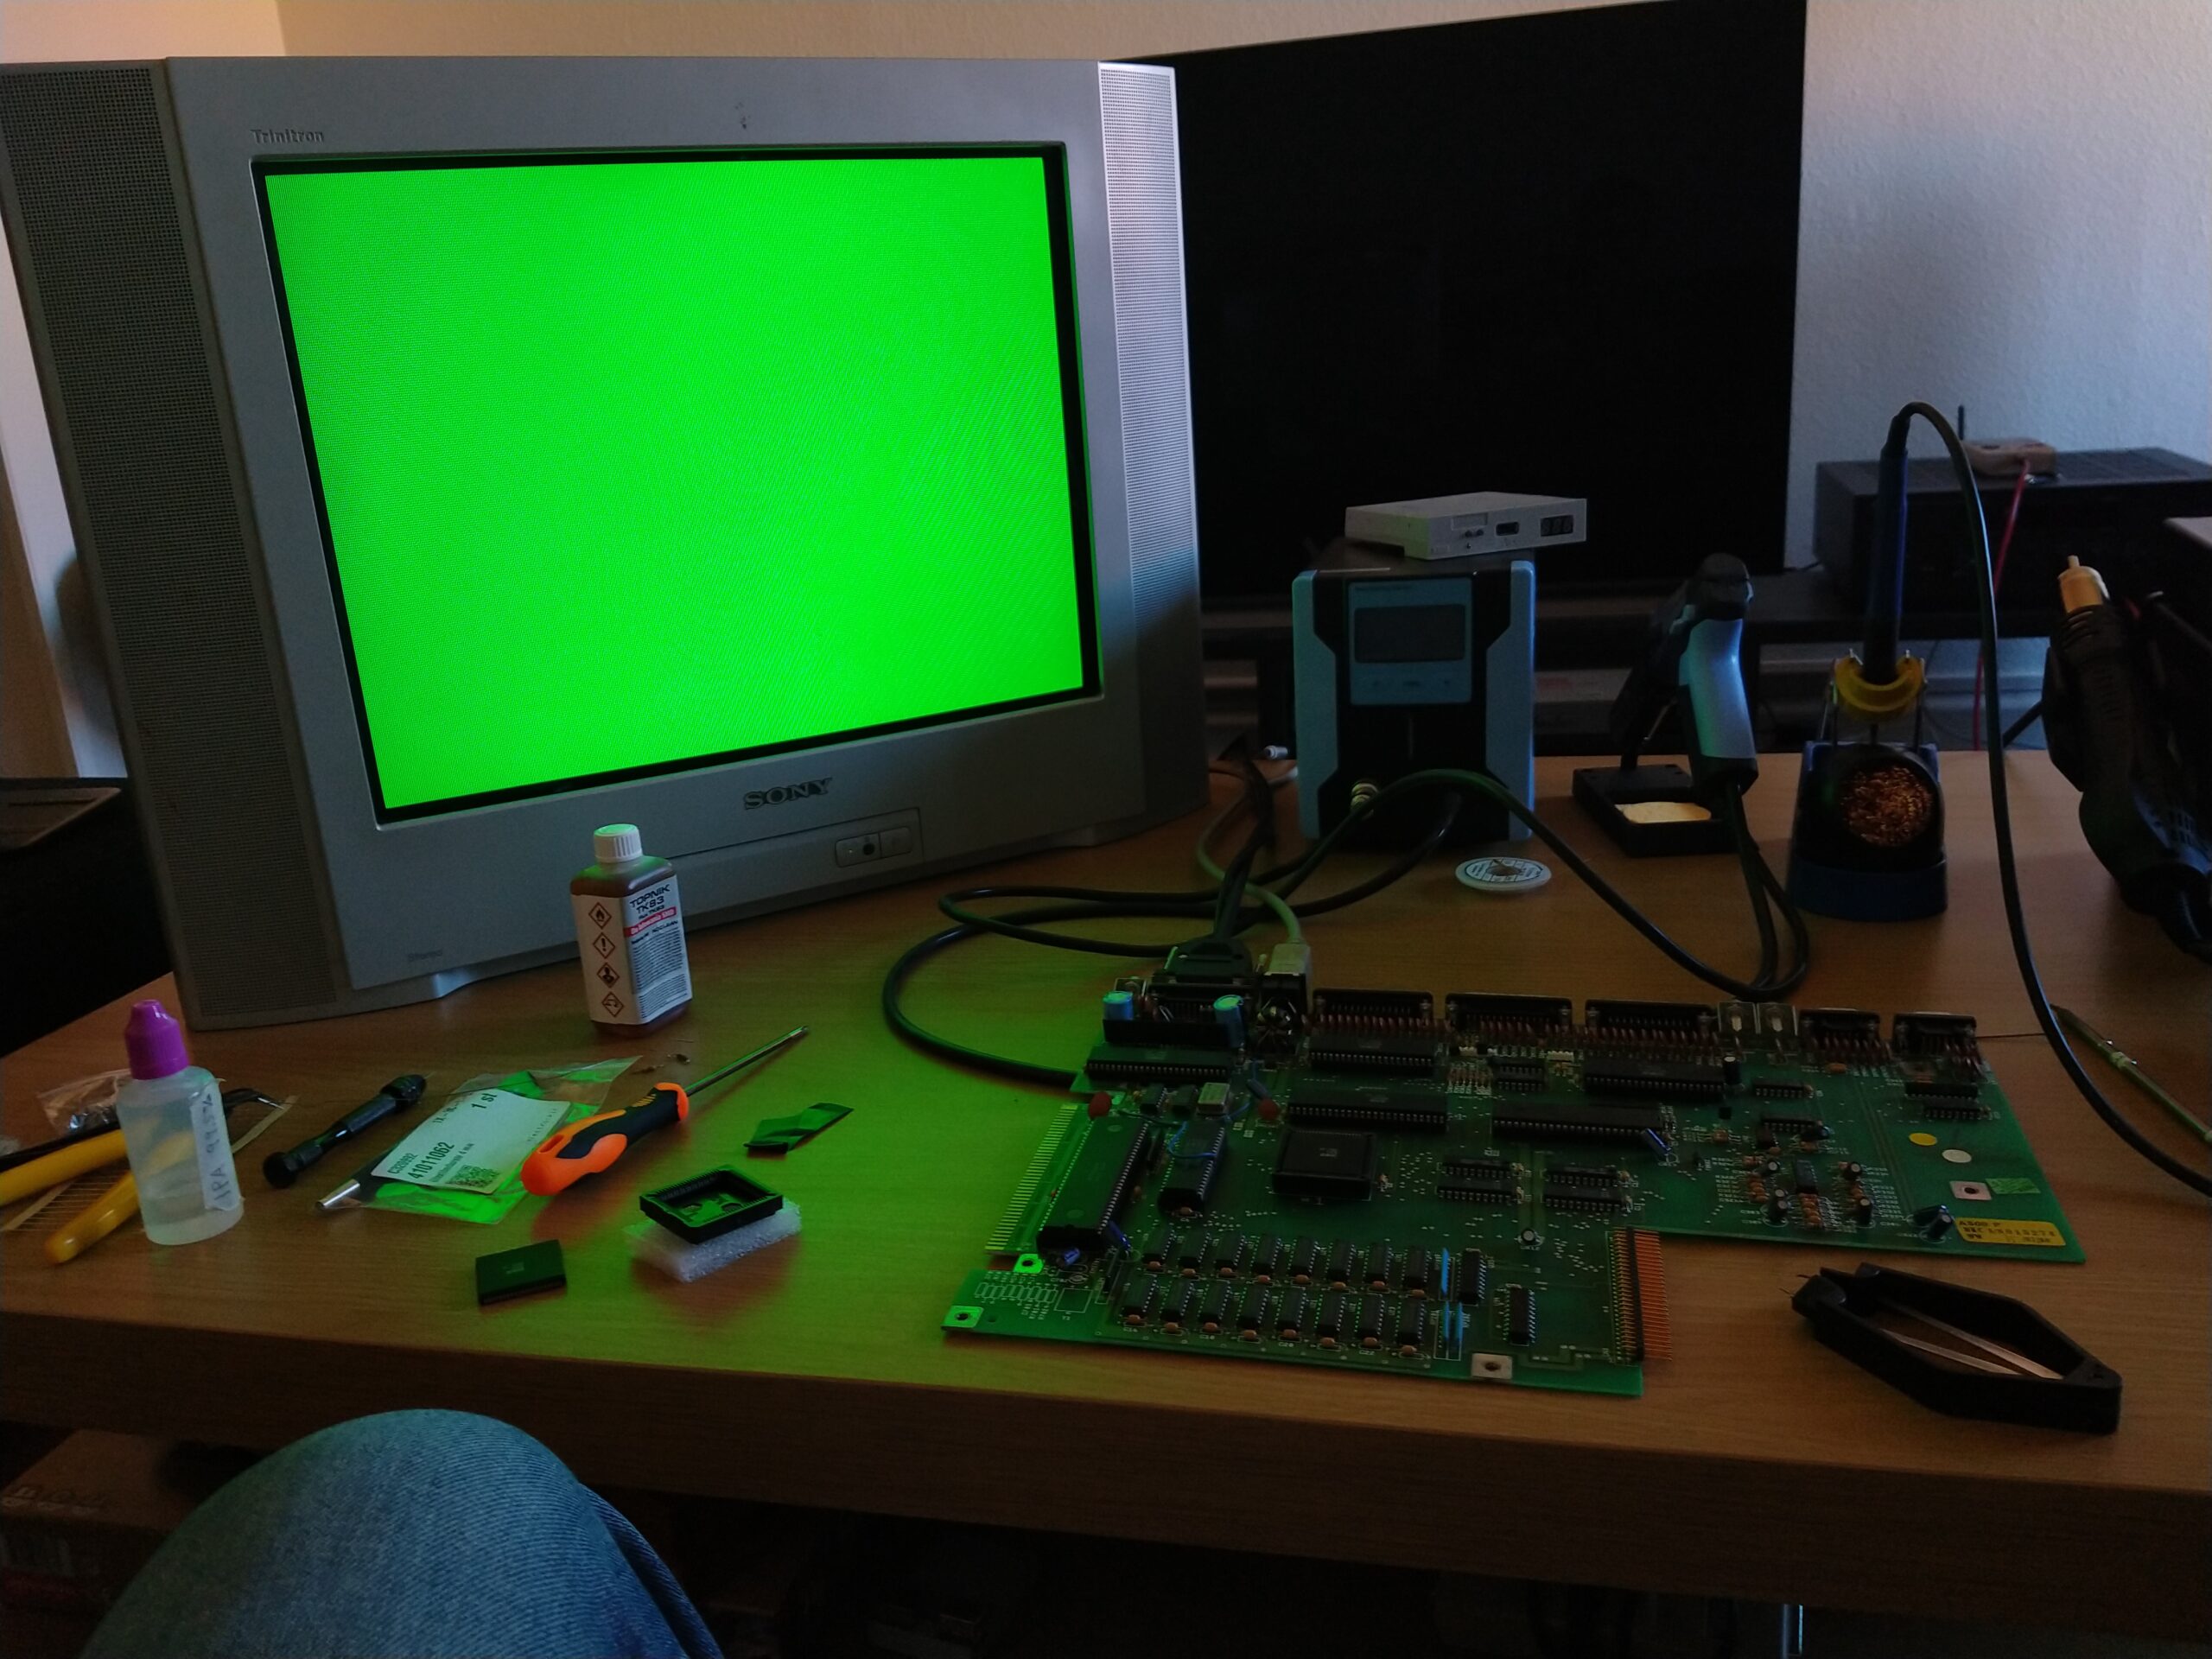
I luckily have 1MB of spare RAM chips that I took out of my Atari STFM when I upgraded its RAM to 4MB. They can be a bit hard to find these days. One by one I remove the chips on the bottom row and replace them with sockets and the RAM from the ST. But it doesn’t seem to be helping. The green screen persists. Once I get to the last chip on the bottom row (U23) I’m about ready to give up for the night. I’ve been working on the board for 6 hours on and off, and it seems to maybe not even be the RAM chips after all. But I replace the last one nonetheless.

After having been greeted by a green screen after every attempted fix so far, when I boot it up after changing the last RAM chip on the bottom row I am suddenly greeted by a gray screen. Then a light gray screen. Then a white screen! And after a short while it shows me this:
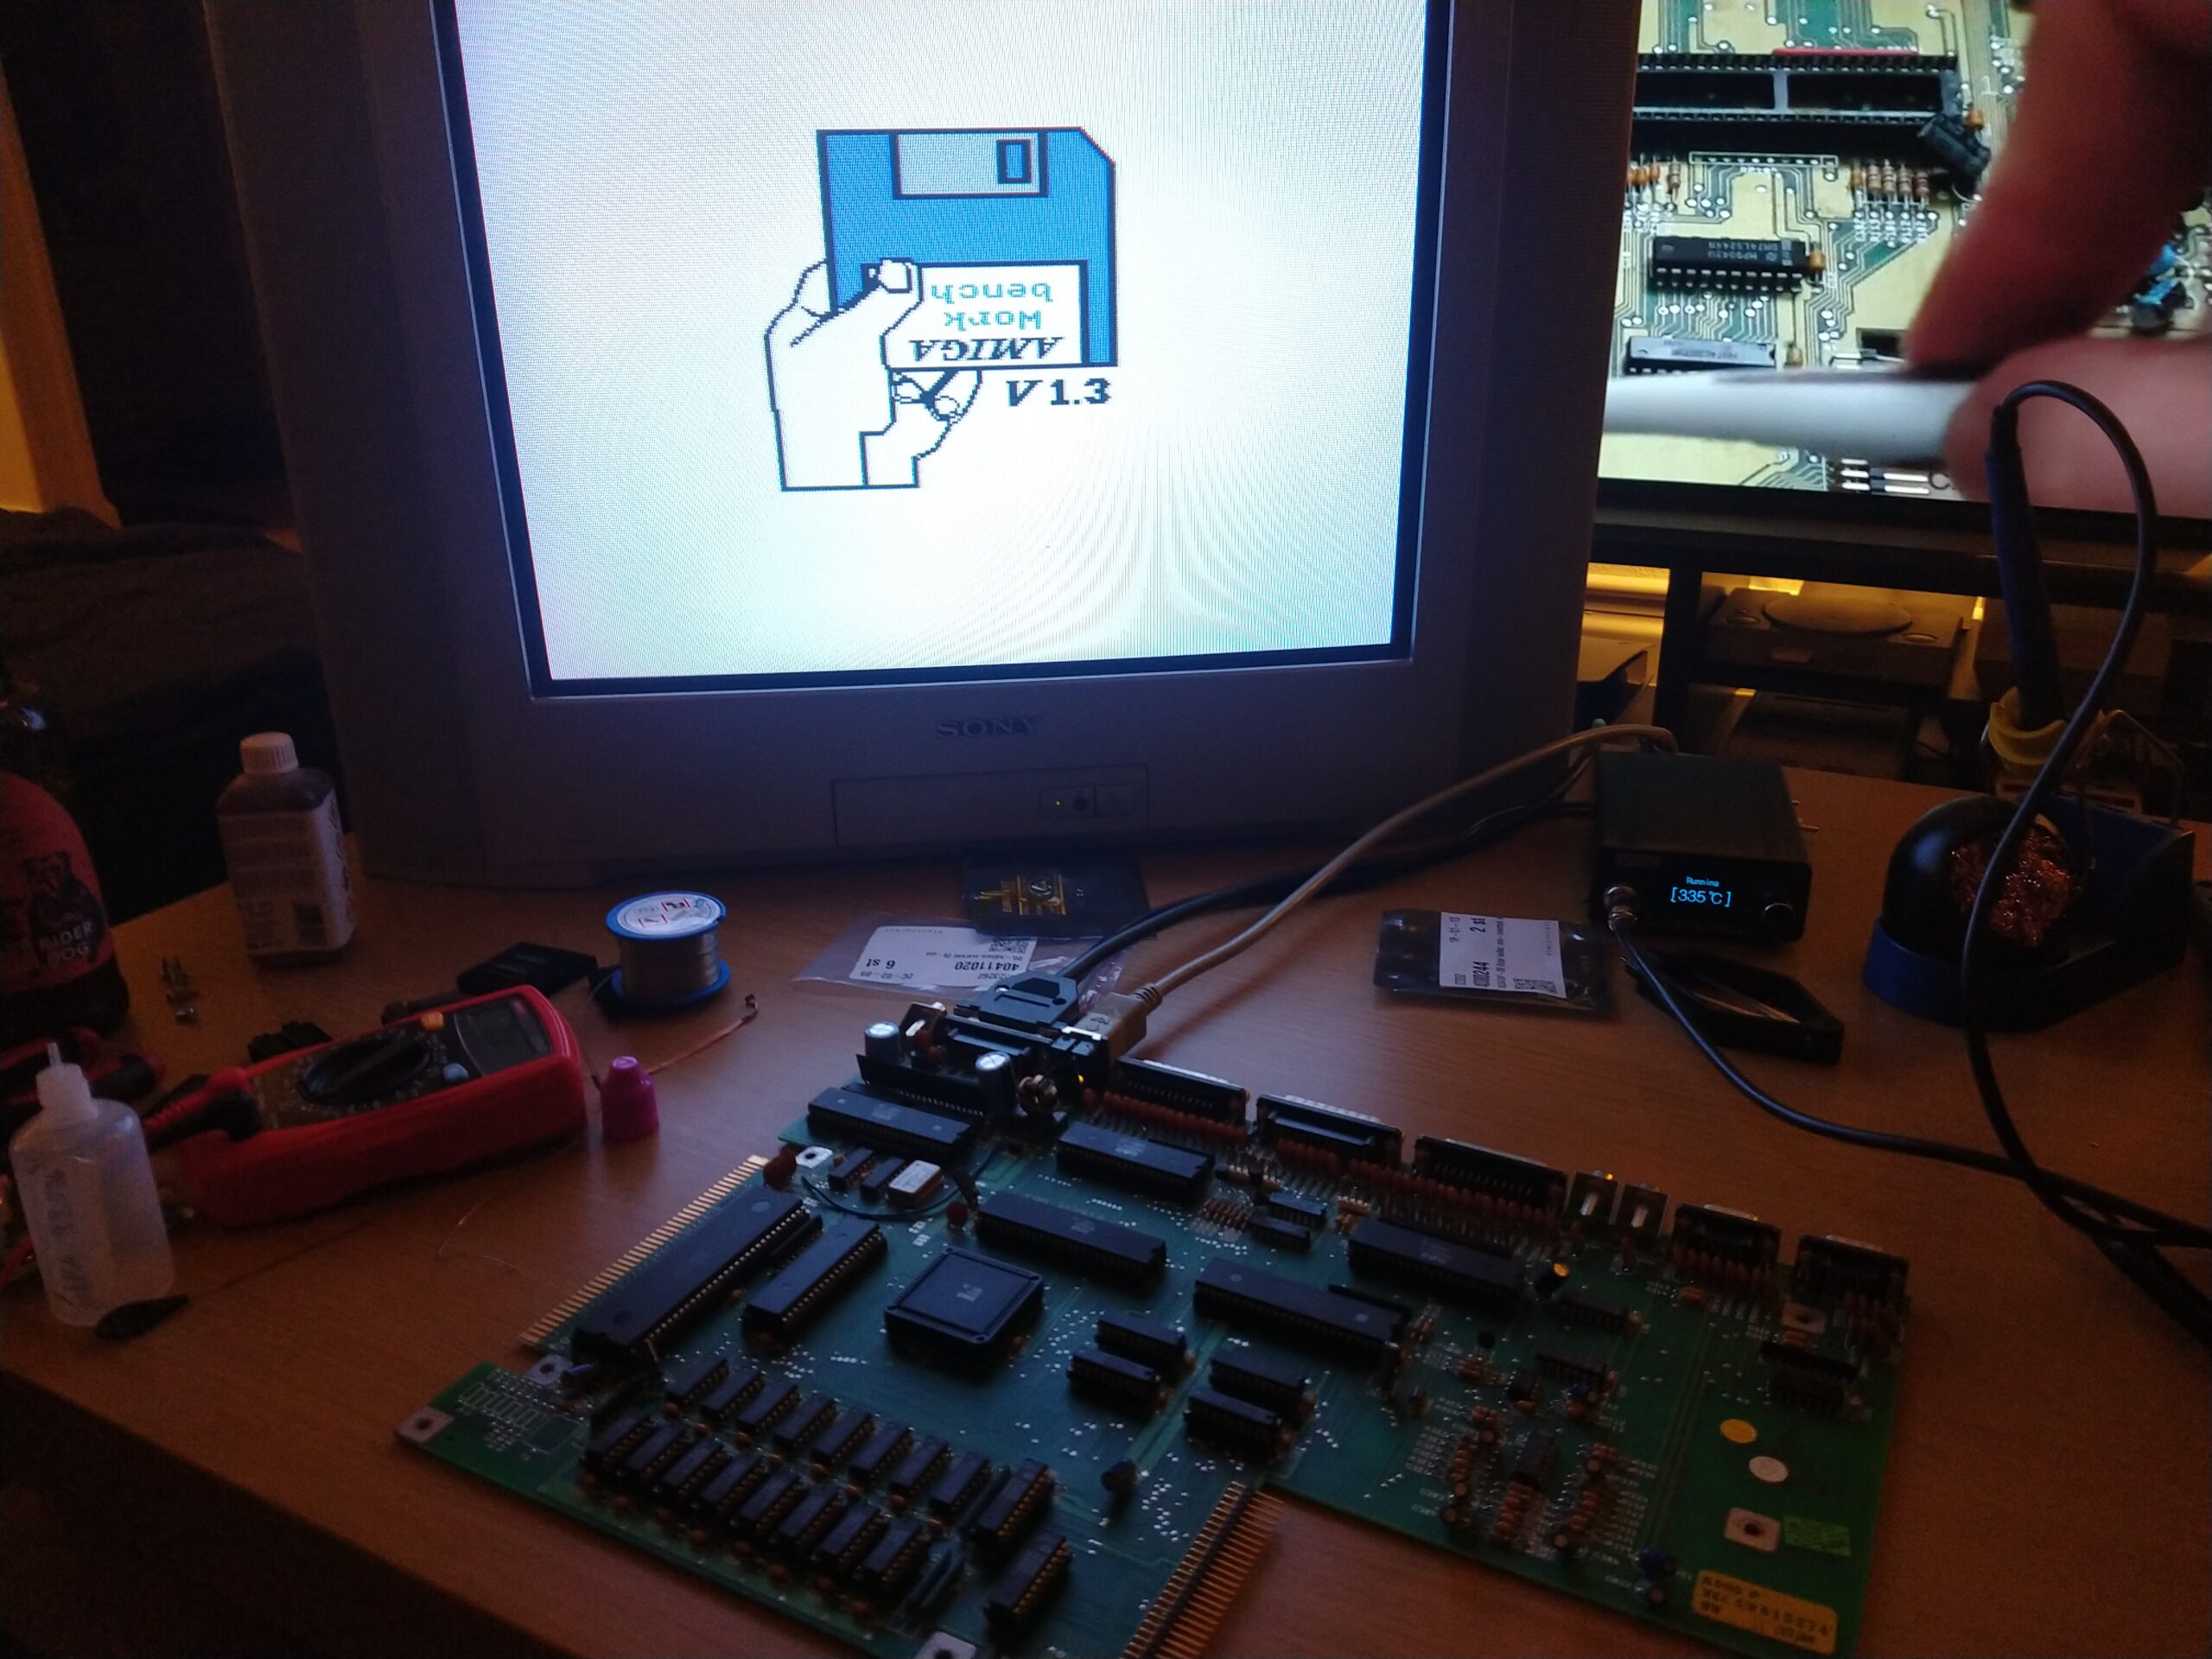
I had put the Kickstart 1.3 ROM from my working Amiga in there to rule out the 2.04 ROM as an issue, hence the 1.3 kickstart image. But nevertheless it’s working! I put the 2.04 ROM back in and that also works as expected. So at this point the machine is working again after maybe more than two decades. To say I was happy would be an understatement.
It’s not completely out of the woods yet however, as there appears to be graphical corruption in some software, and some Guru Meditation 8000 0003 errors with some other software which indicate a RAM addressing issue. So I assume that there are faulty RAM chips on the top row as well, although oddly enough the memory test in Amiga Test Kit doesn’t seem to find anything wrong. But at least it’s not a fancy paper weight anymore, and most things I’ve tested on it seems to work now. I’ll be changing out the top row of RAM chips at a later point.
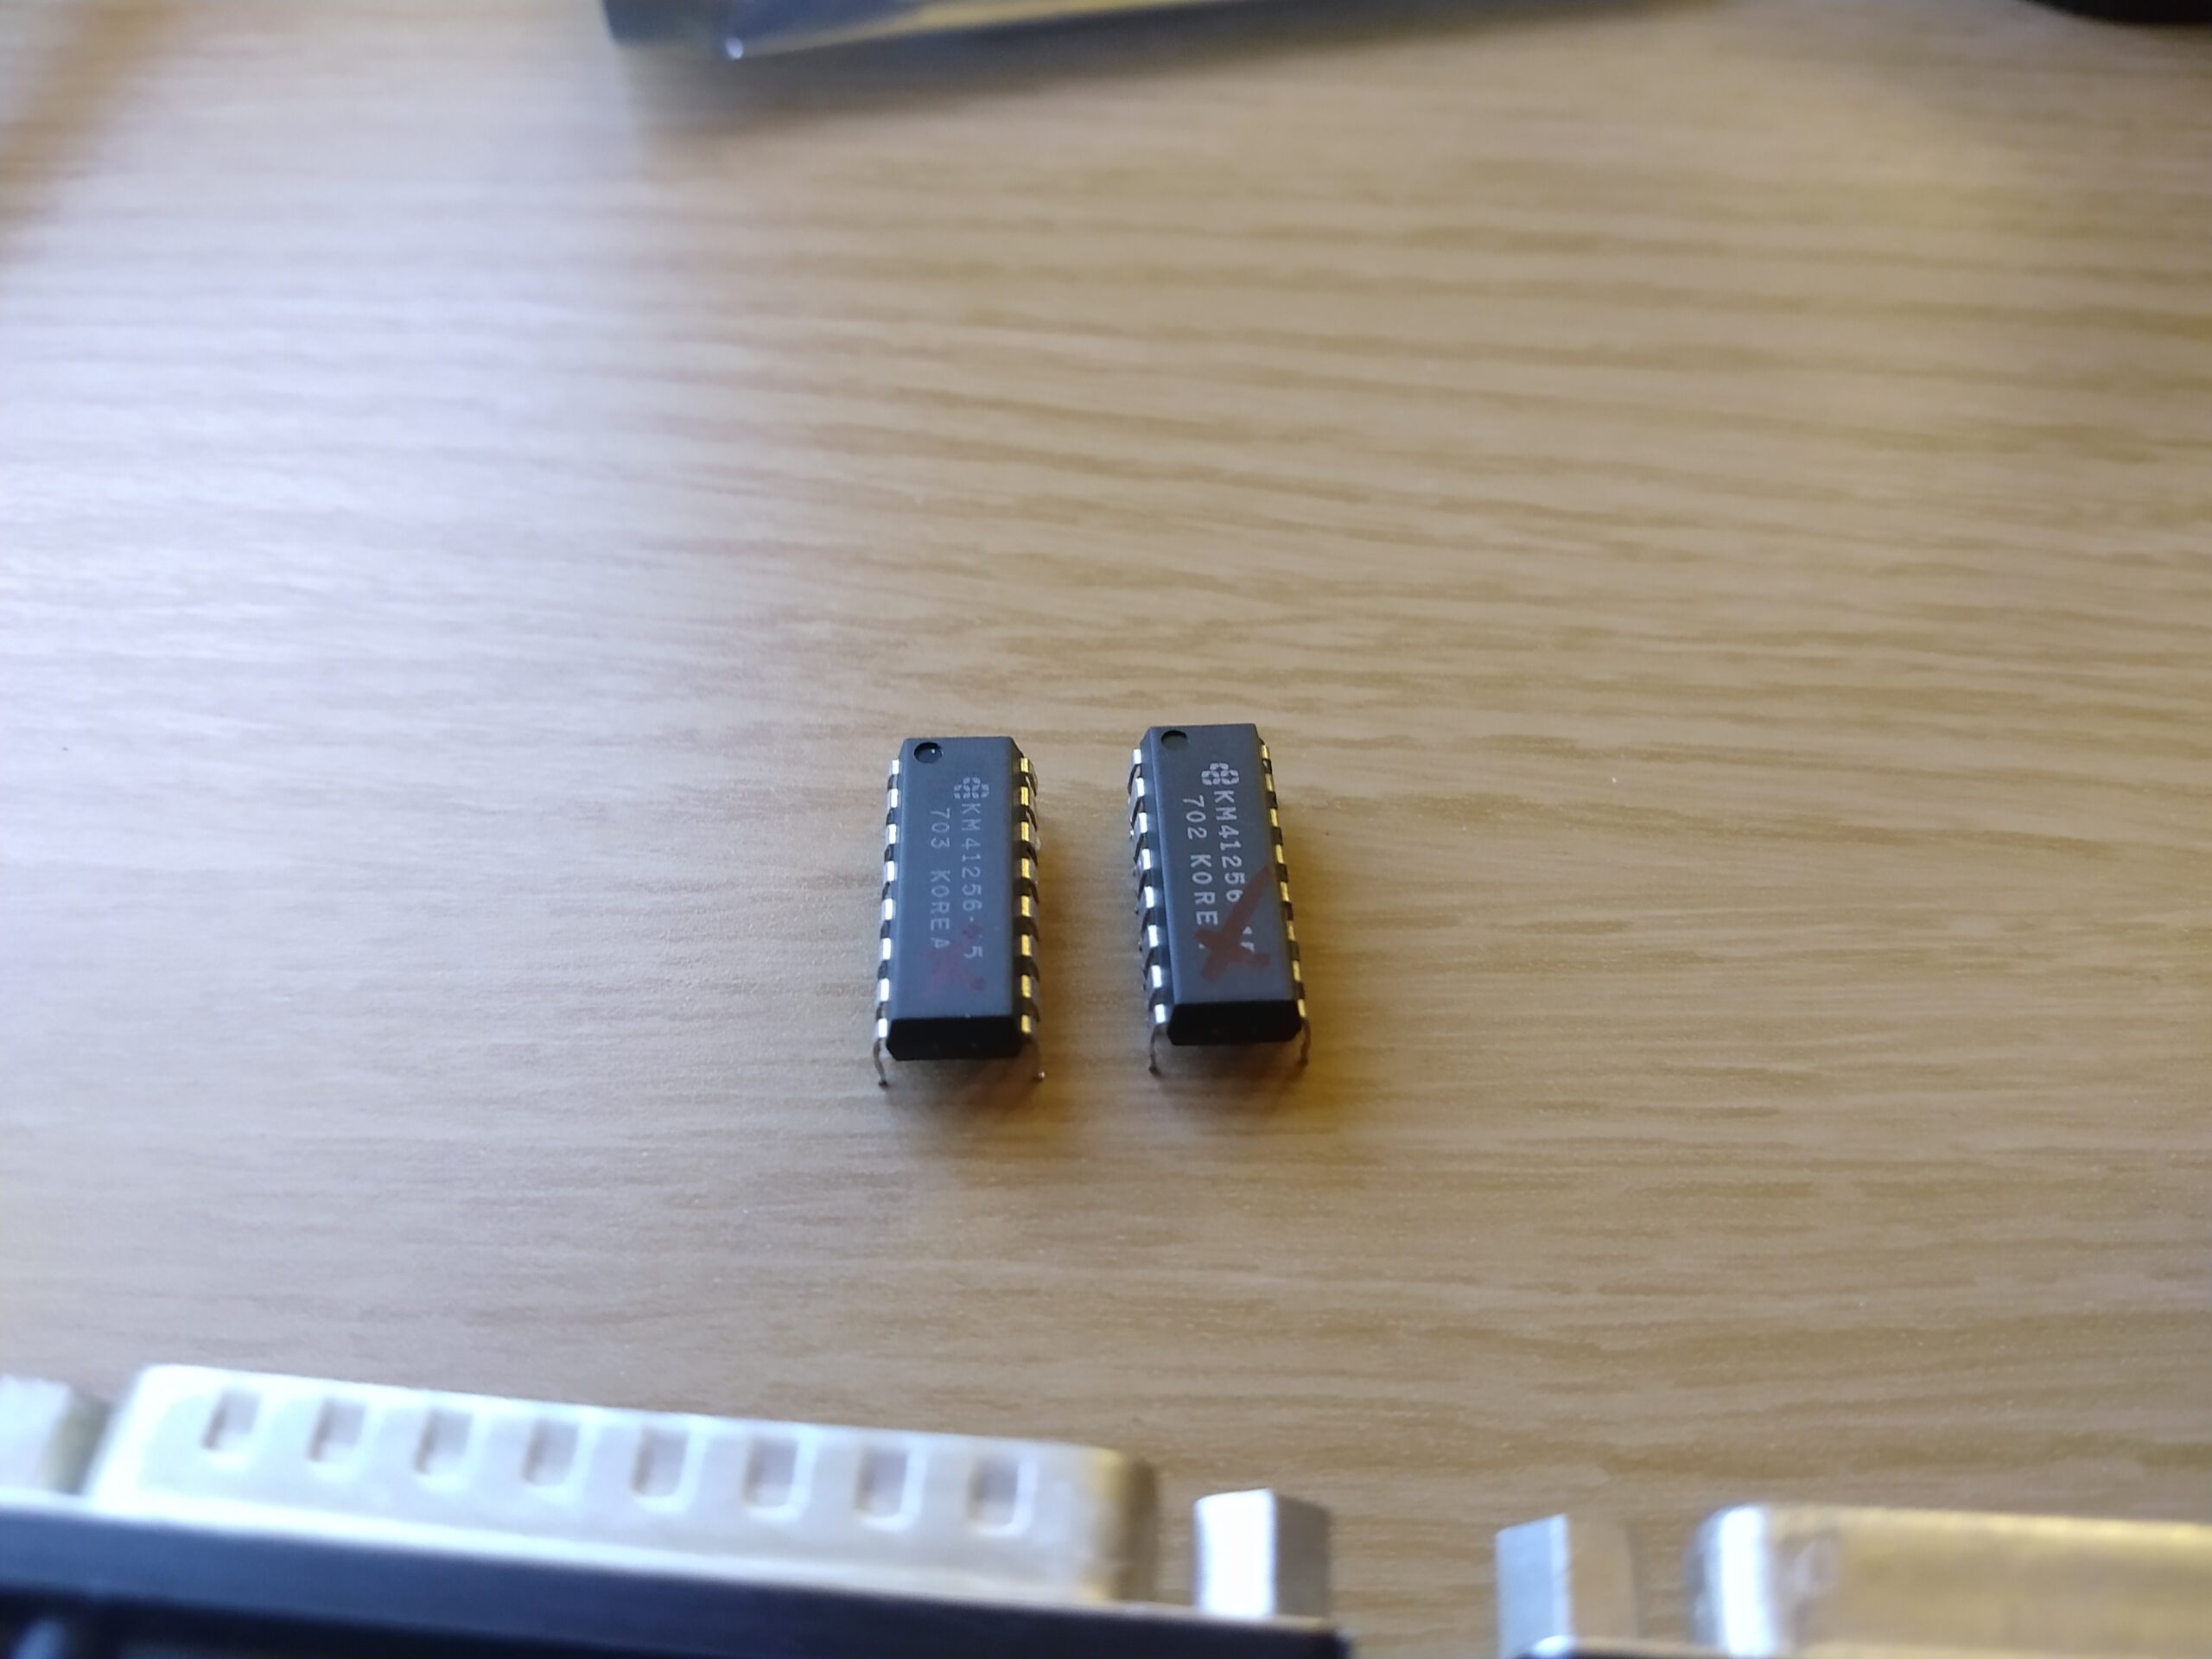
Since I put sockets in I went ahead and tested all the RAM chips I took out of it. And two of them were faulty. This means I have 6 spare ones now.
Thoughts
If I were to do this again, I would get myself a DiagROM to diagnose the issue with. If the CPU is working at all it can likely run DiagROM and that would most likely have pinpointed the issue a lot quicker compared to me changing out all the non-faulty chips. Actually I should get a DiagROM regardless since it’ll be good to have.
Another thing I’d do differently would be to order low-profile turned pin sockets for the RAM chips. The RF shield does fit on there with the ones I ended up using, but it is a tight fit and it does rest against the chips. I could also just get rid of the RF shield but that seems wasteful, so I don’t like that idea.
Once I’ve changed the other RAM chips this A500 will be getting a recap, and some other modifications. I now have a spare 8372A Agnus for example so I’ll attempt to do a chip ram mod. There are trapdoor memory expansions that have 2 MB of RAM, allowing you to use 0.5 MB of that for chip ram and the rest as slow RAM. I have installed such an expansion in my Rev 6a A500 without issues. The problem with Rev 3 boards however is that they don’t have the jumpers on the board to easily do this mod, but it should be possible on the Rev 3 as well with some finagling.
Update
It turns out that there isn’t actually anything wrong with the remaining RAM chips on the top row. Instead the graphics corruption and the Guru Meditation 0003 errors are caused by the software being incompatible with Kickstart 2.04. I actually suspected this, especially since memory testing didn’t find anything wrong. So I put my 1.3 ROM in while I was changing out the Agnus chip to a 8372A one, and tested the problematic software. And indeed they worked fine. I then put the 2.04 ROM back and they were back to not working again. Also tested them in FS-UAE with a 2.04 ROM with identical results.
So there’s luckily no more RAM desoldering in store for this board. I might get myself another Kickstart 1.3 ROM though, although I might just use my other A500 for those occasions.
Links
- Commodore Amiga faults and defects
- A500 – Green Screen Issue @ Lemonamiga forums
- GadgetUK164’s Youtube channel – Have to link this since it lead to a lot of inspiration regarding what the issue might be. And is just a nice source of Amiga troubleshooting tips in general.
One thought on “Resurrecting an Amiga 500 from the green screen of death”