Recently I’ve been teaching myself how to solder, and also reading up on various console mods I could try out just for fun. An obvious, and quite simple mod is installing a backlight on a Game Boy. It only involves four solder points in total, soldering the backlight to the main board of the console. The original Game Boy consoles of course didn’t have a lit-up screen, so installing a backlight is a huge improvement. Since I already have an original Game Boy with a backlight and bivert mod — generously gifted to me by a friend who did the mod himself — and the fact that I have a bunch of Game Boy Pockets lying around, I decided to install a backlight and bivert mod into one of those.
I decided to start with the backlight, since that seems to be the simpler of the two mods so that’s what this post will be about. I watched a bunch of videos on youtube (linked below) to get an idea of the procedure and got started.
First I unscrewed everything and got the board to a point where I had access to the screen. Then I gently pryed away the screen from the shell. The next part was getting the old reflector off the screen so we can put in the backlight. This part is widely considered to be the most troublesome, but even so I still underestimated how long this would take. In the videos it didn’t seem too bad, and actually getting the reflector off wasn’t that difficult. But compared to the videos I watched, my reflector didn’t come off clean at all and left a ton of adhesive residue on the screen. So I busted out the isopropyl alcohol and some Q-tips and got to work. This is what it looked like after about 15 minutes of cleaning:

Yeah.. this is gonna take a while. Eventually I ditched the isopropyl alcohol and went for a chemically pure type of petroleum which is a much more aggressive solvent, but even so it still took me a really long time to get everything off completely.
Whew. Overall it took more than an hour with some breaks and tests to make sure the screen still functioned correctly. Here’s the aftermath:

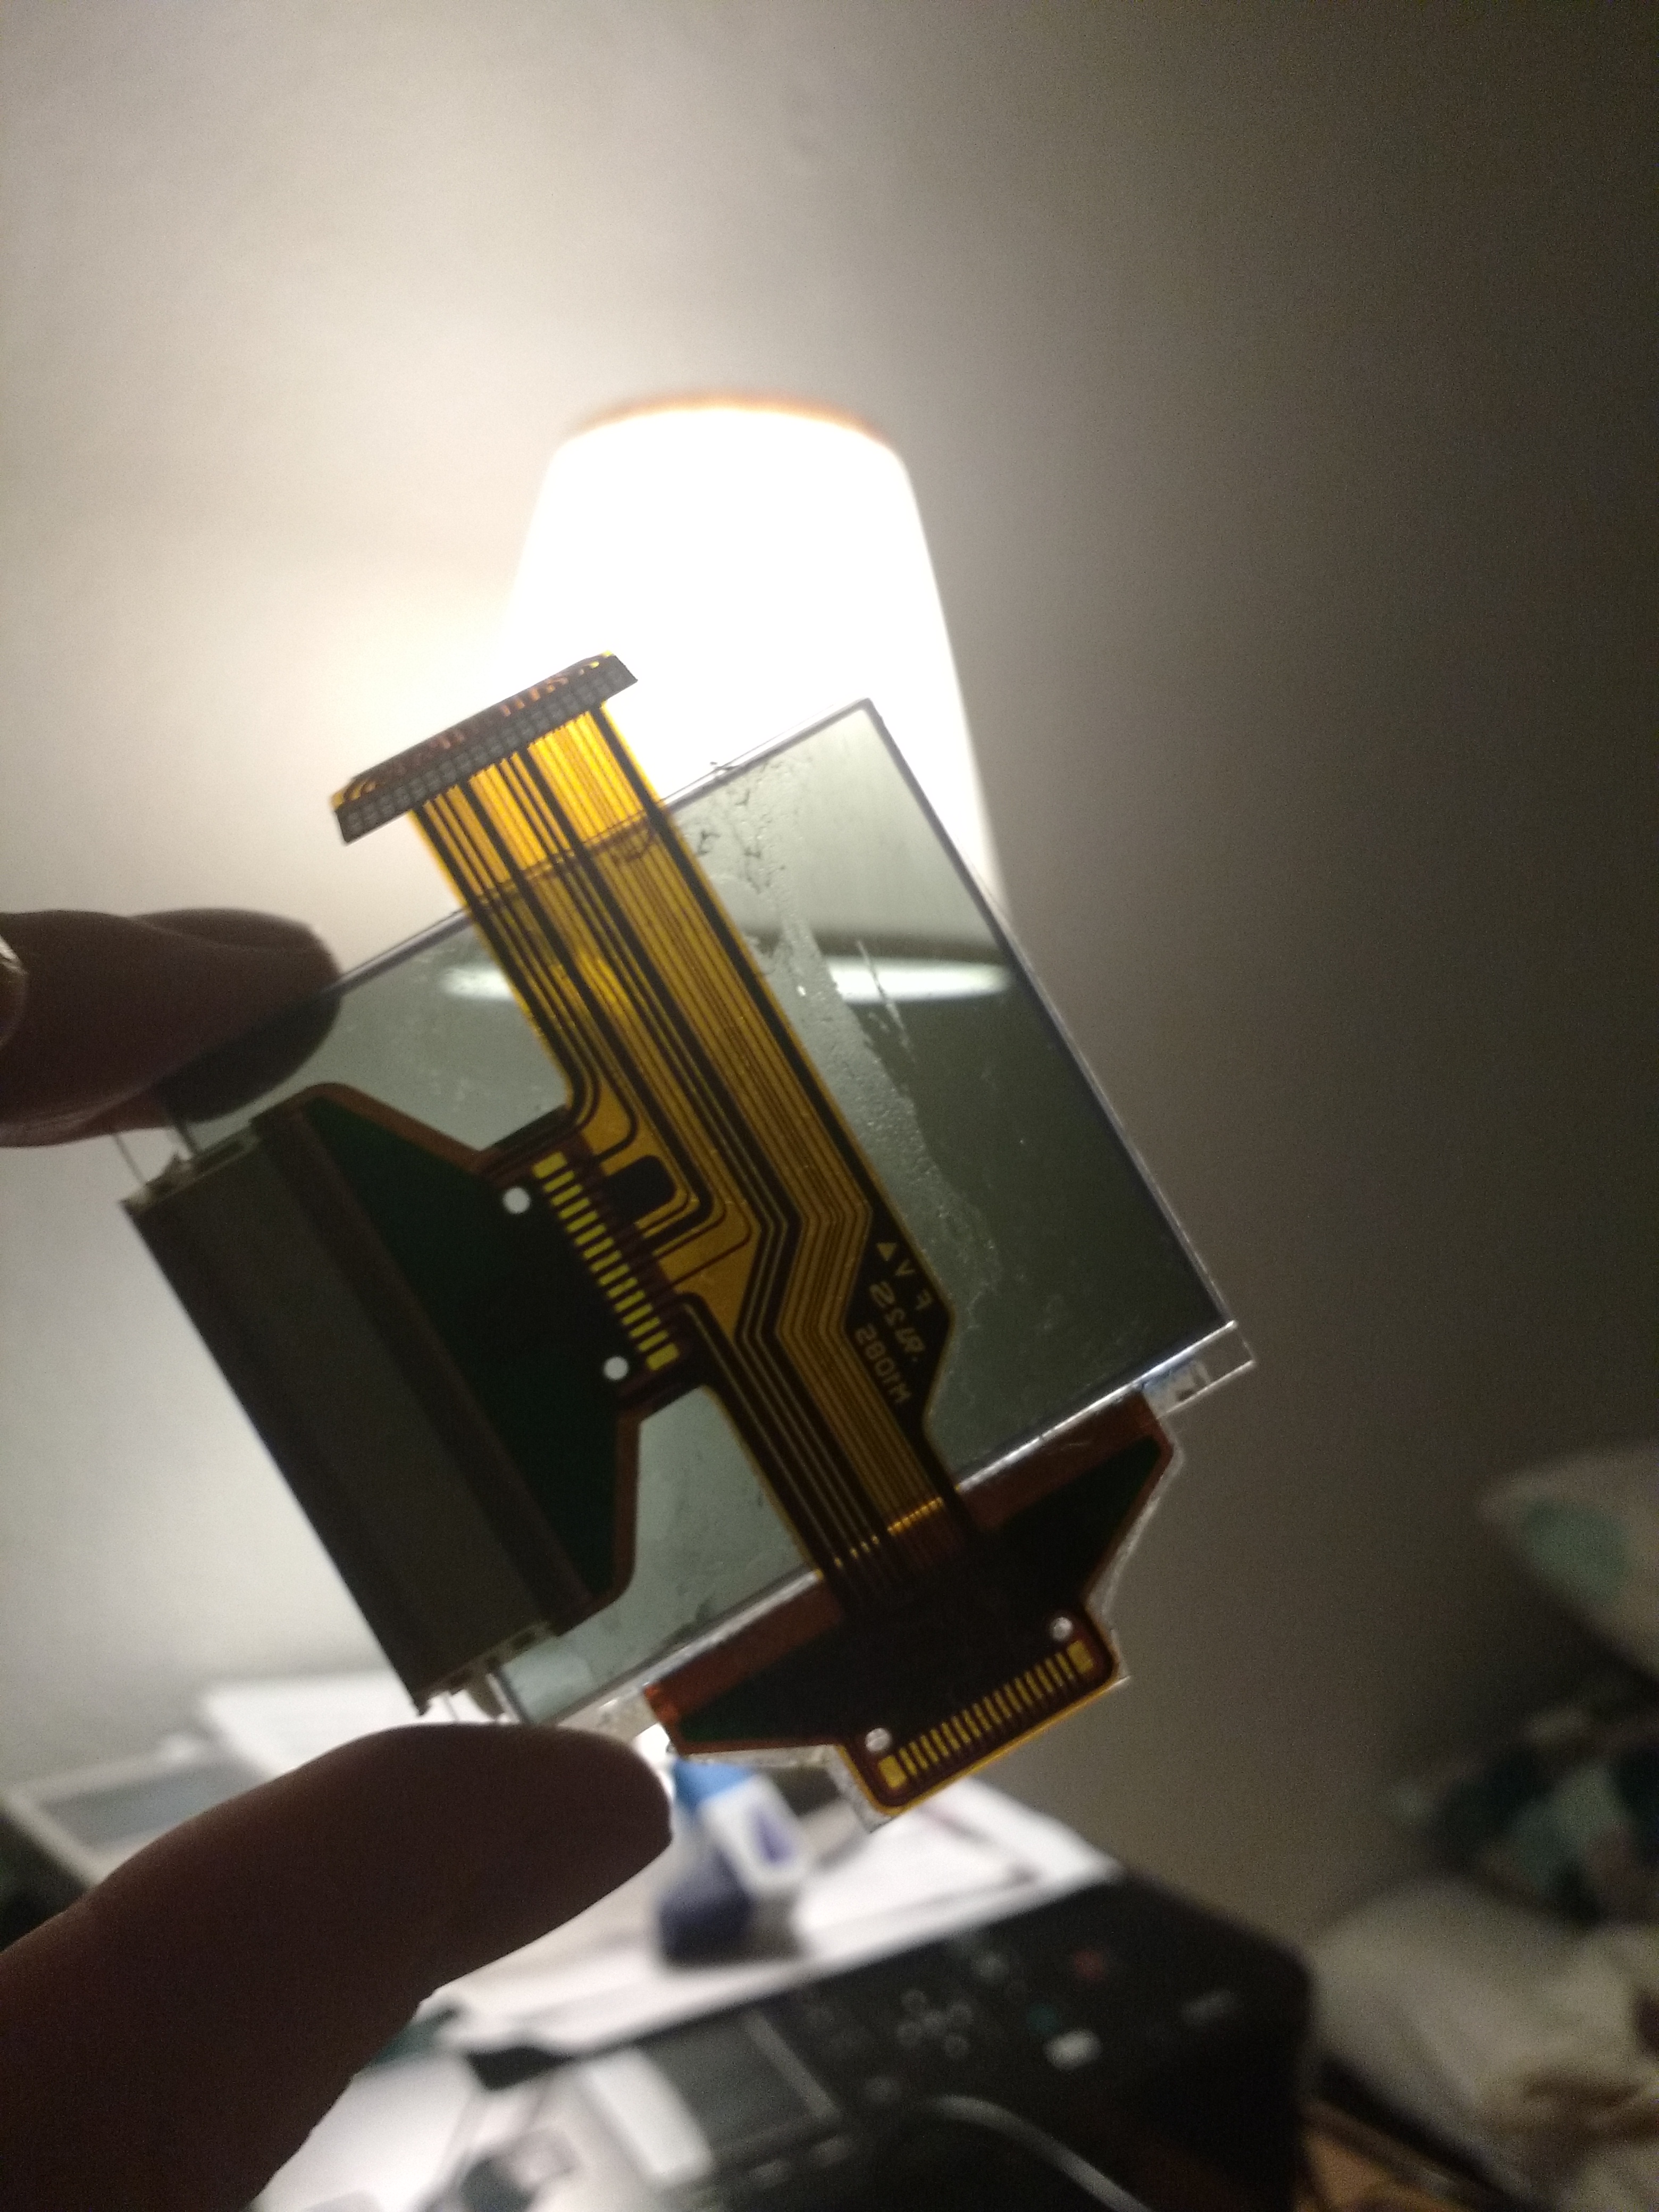
The backlight kit I have is the one from Handheld Legend. V3 to be exact, the one with built in resistors on the ribbon cable of the backlight as can be seen here:
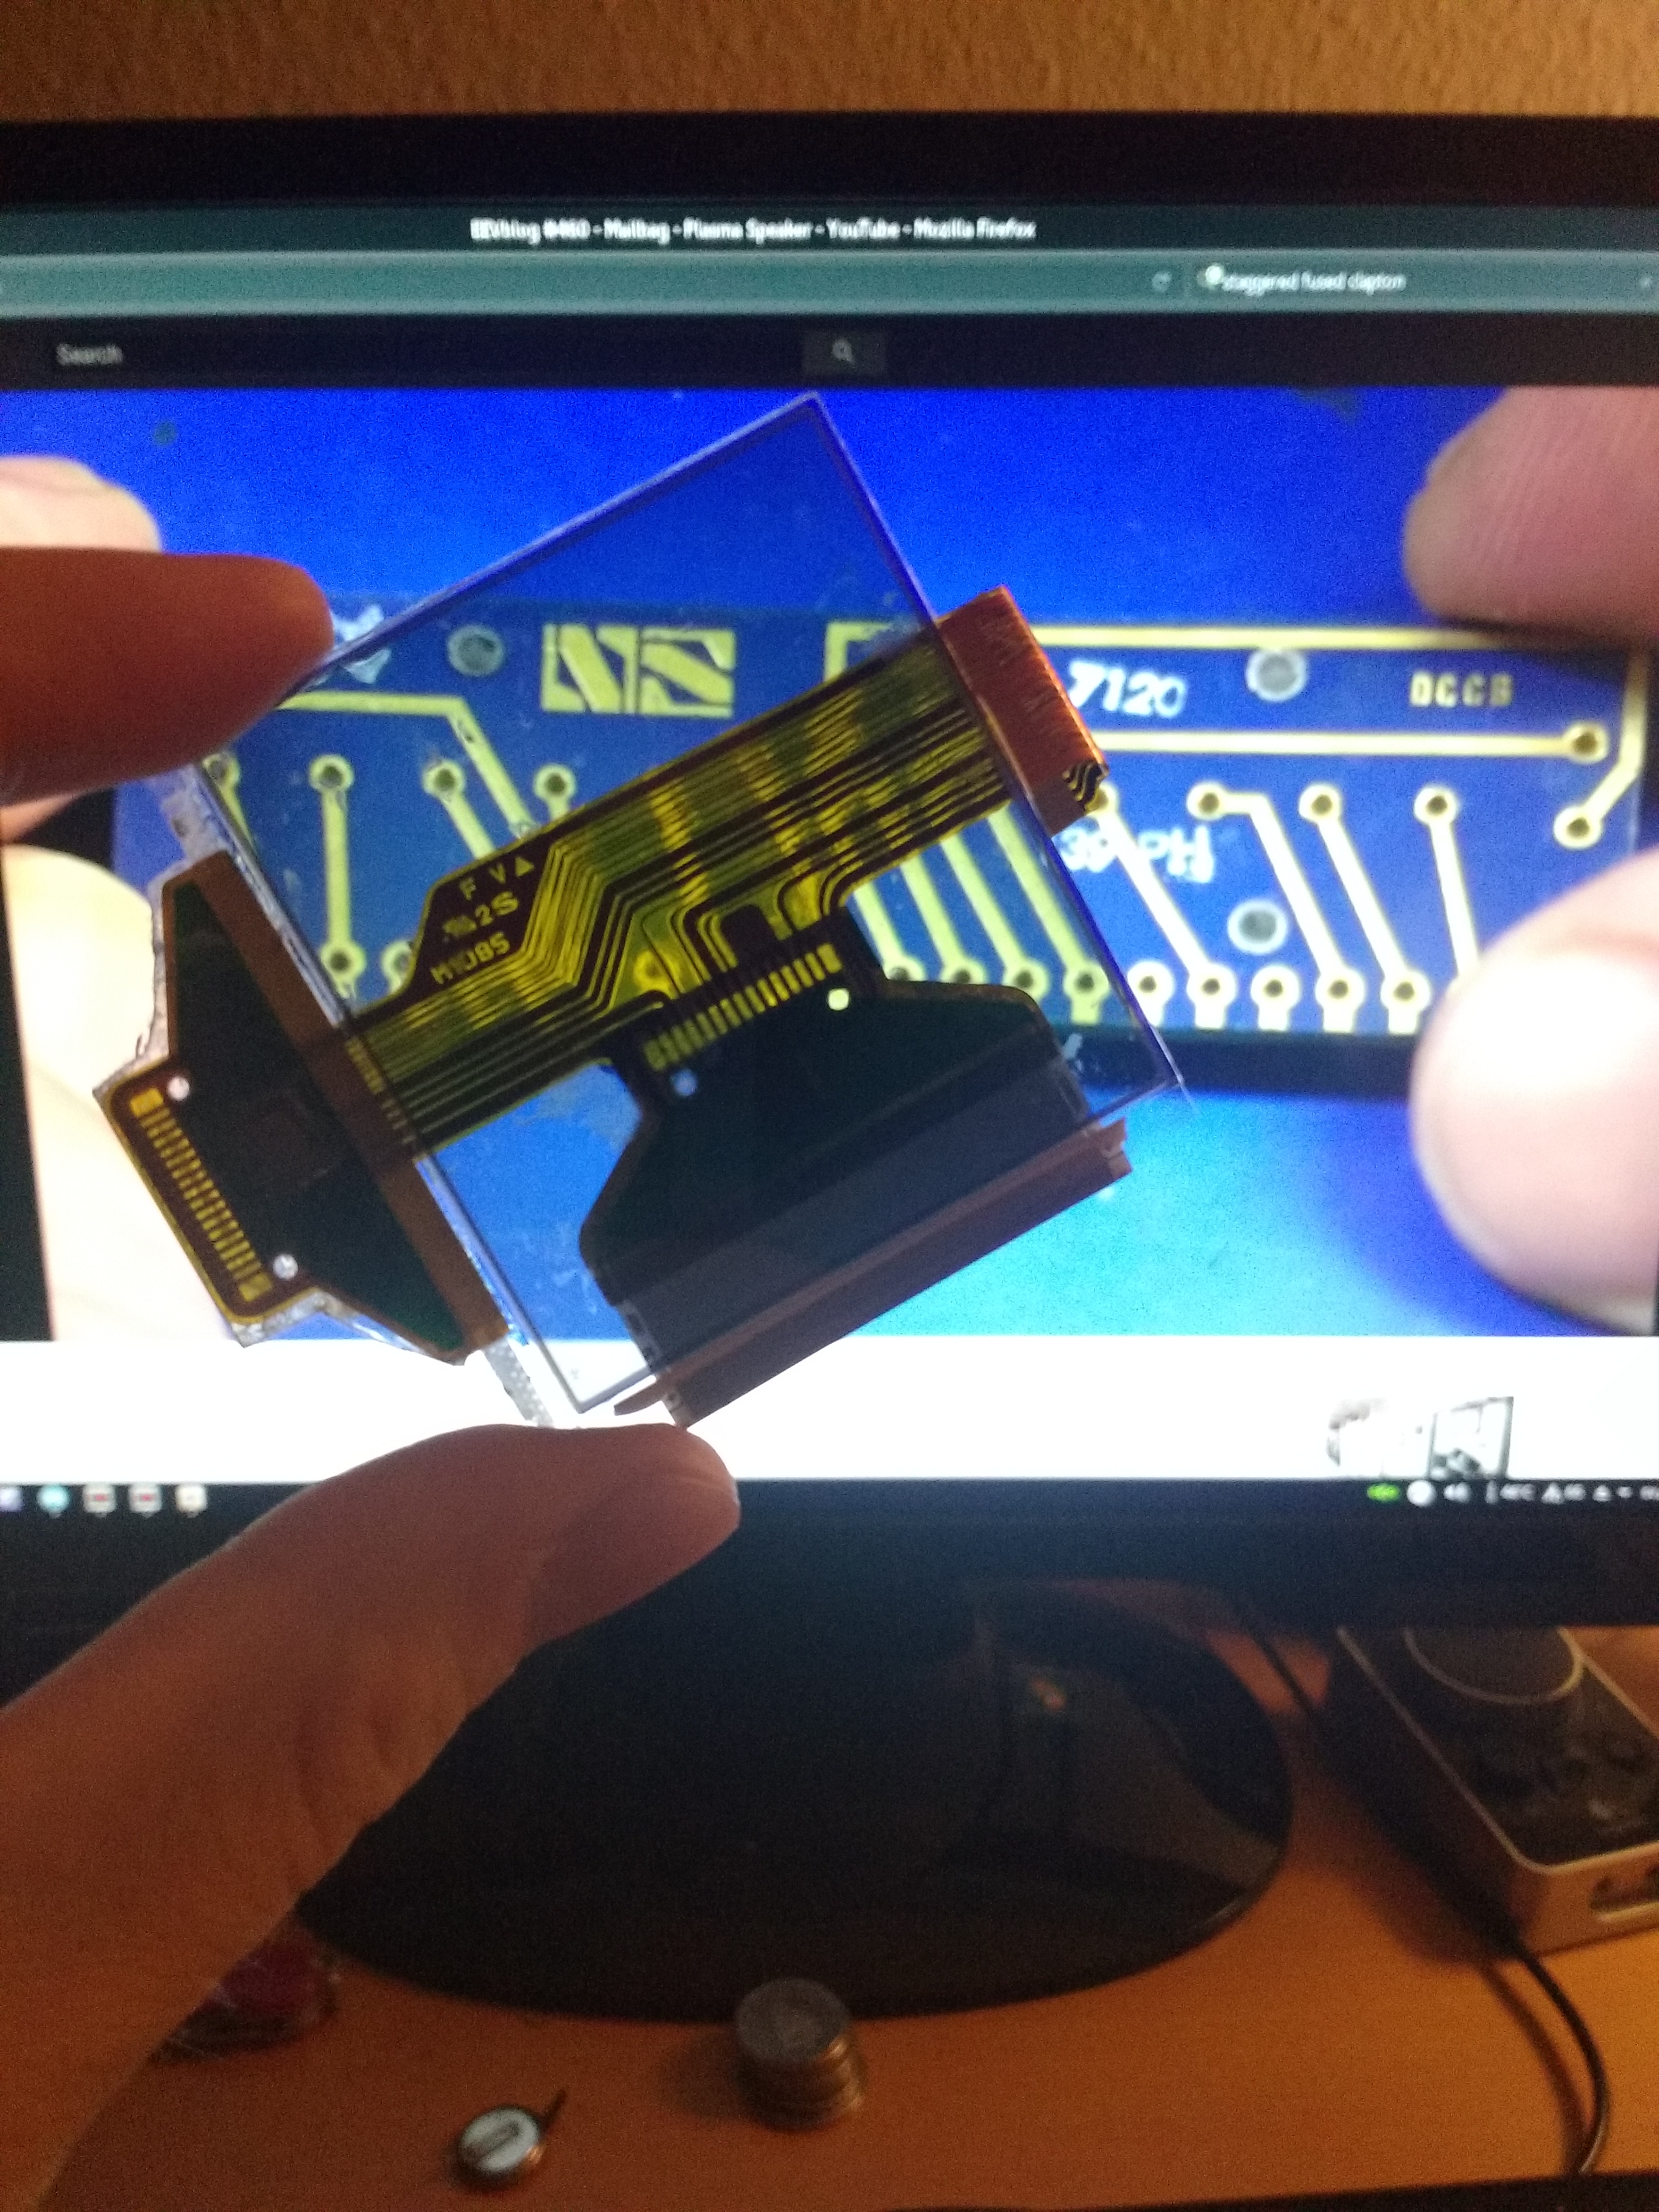
I fired up the soldering iron and put some solder on the solder points on the other side of the backlight ribbon cable. Then I soldered the two included wires to the backlight, red as positive and blue as negative. Next I inserted the included polarizing filter to the back of the screen, and put the backlight on top of it. Then I put the screen back into its original place, and routed the wires so that they go around the bottom of the PCB to the other side like this:
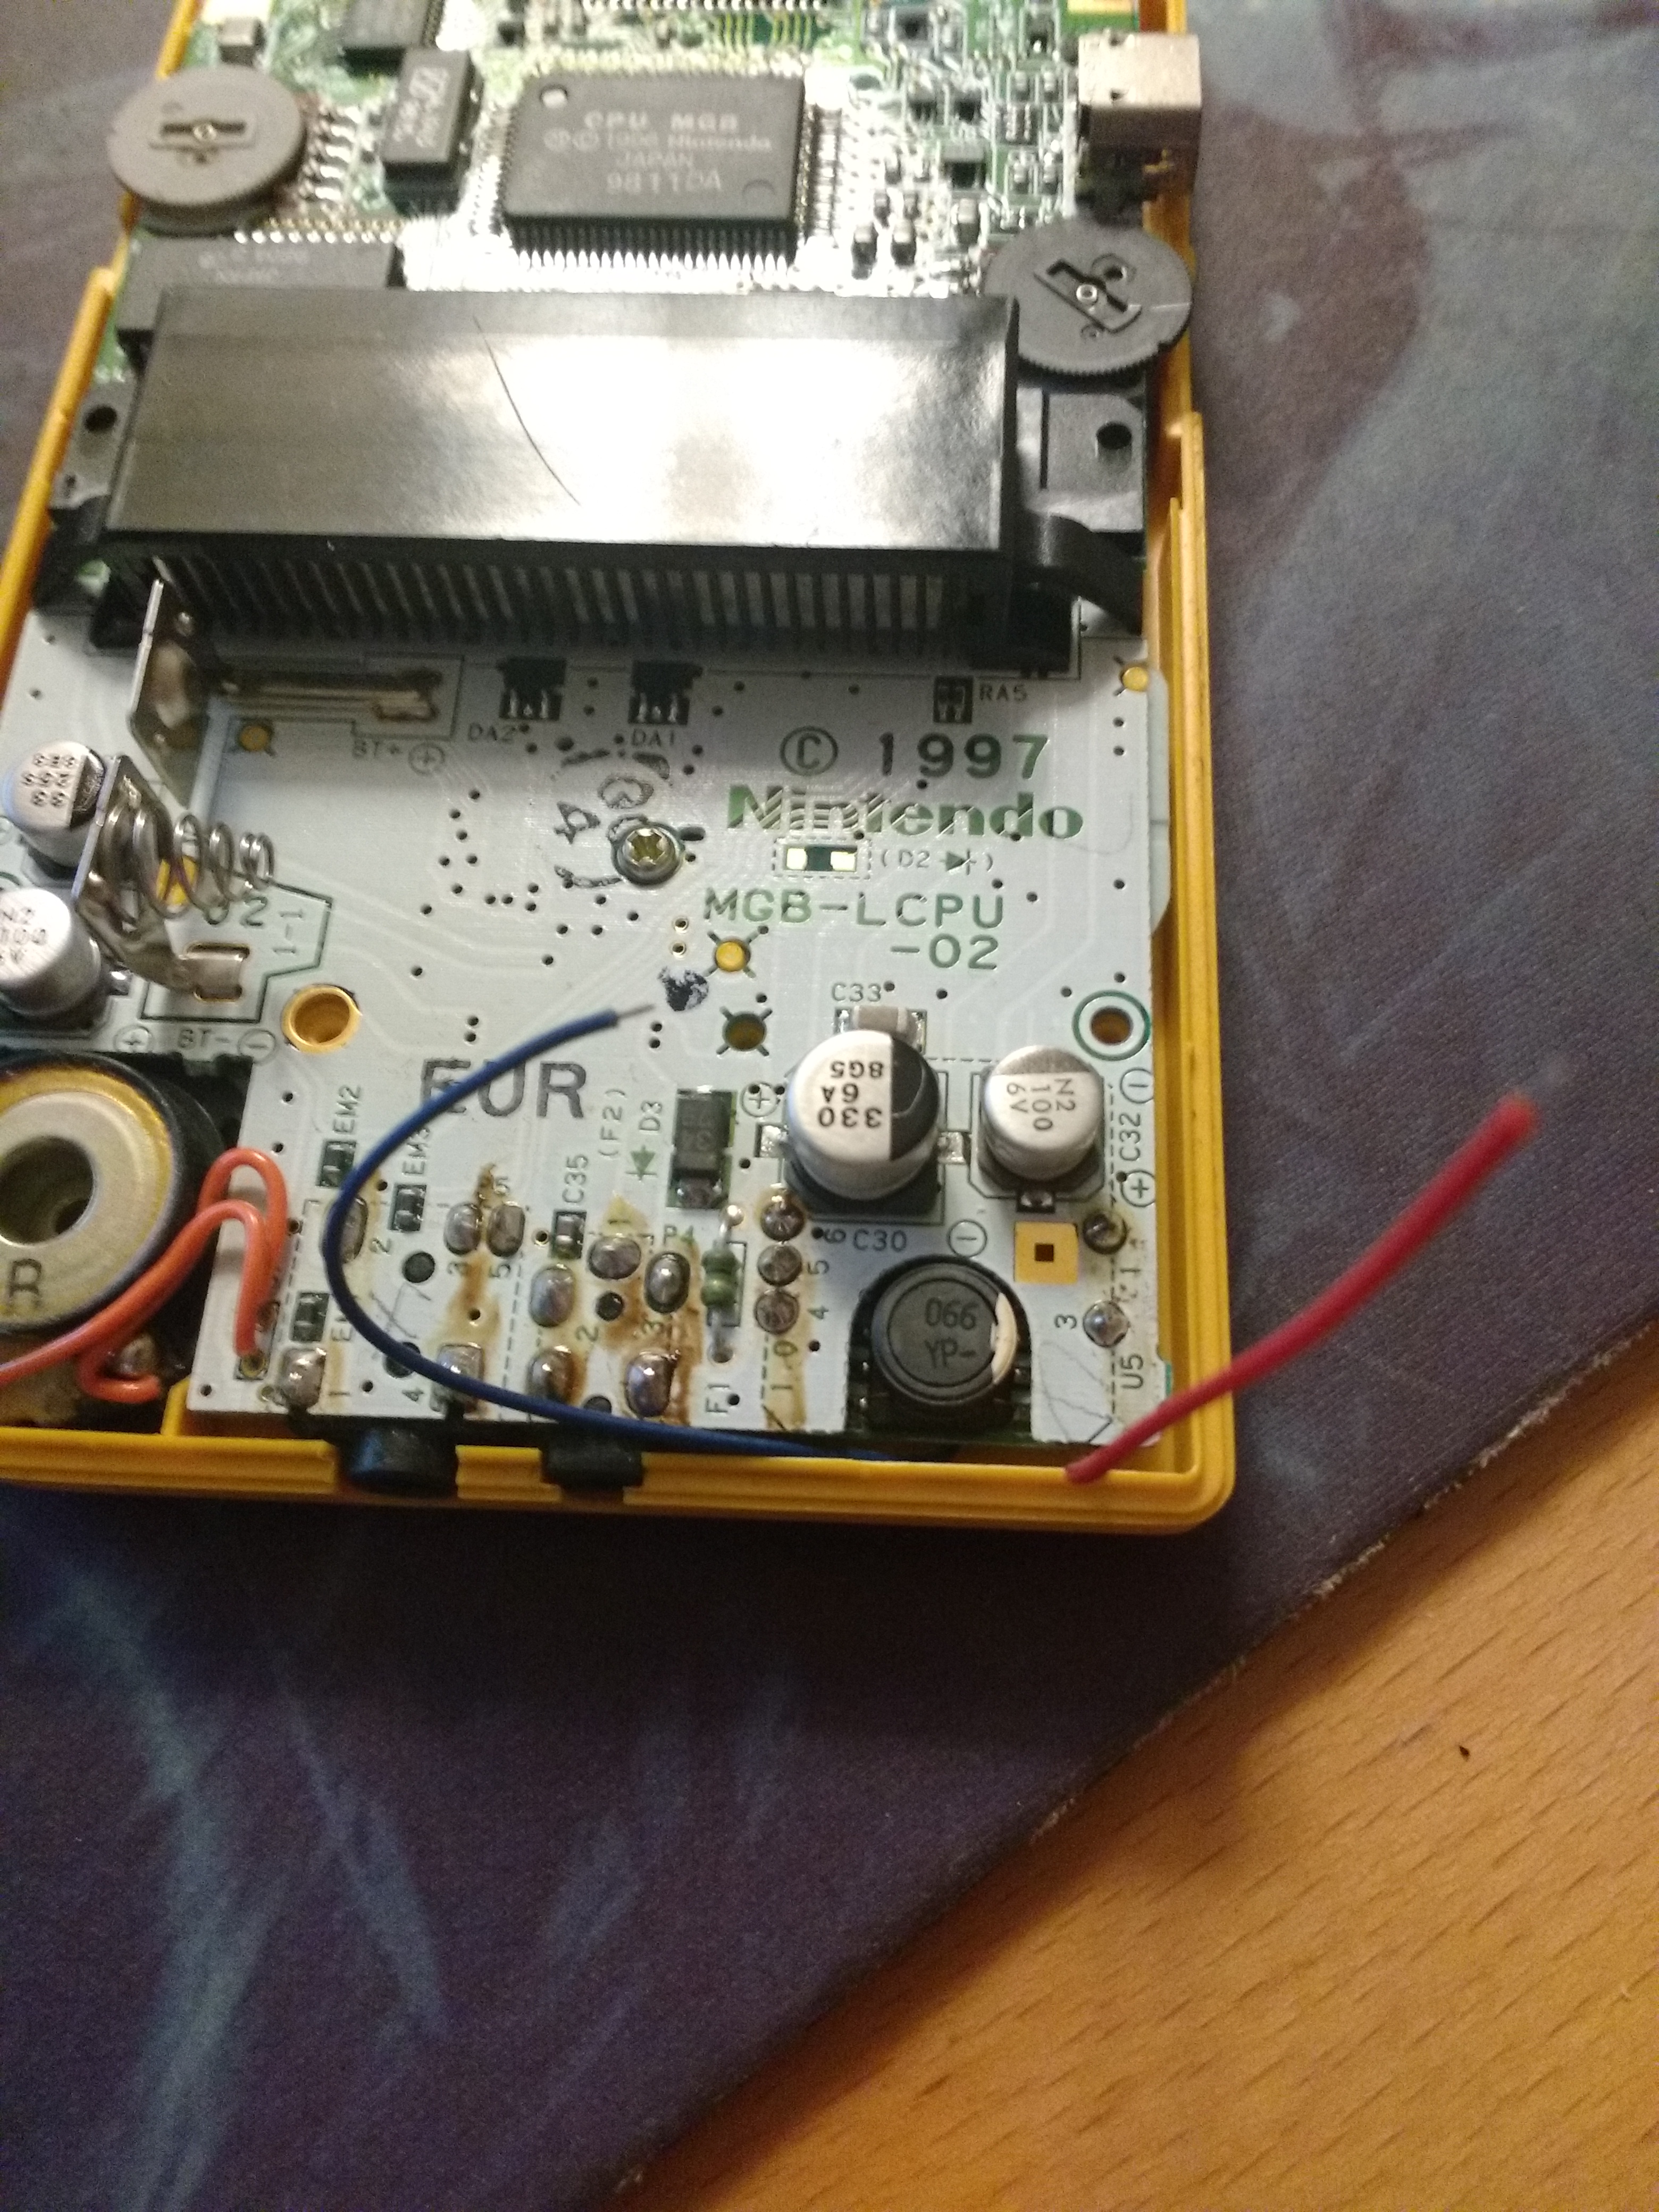
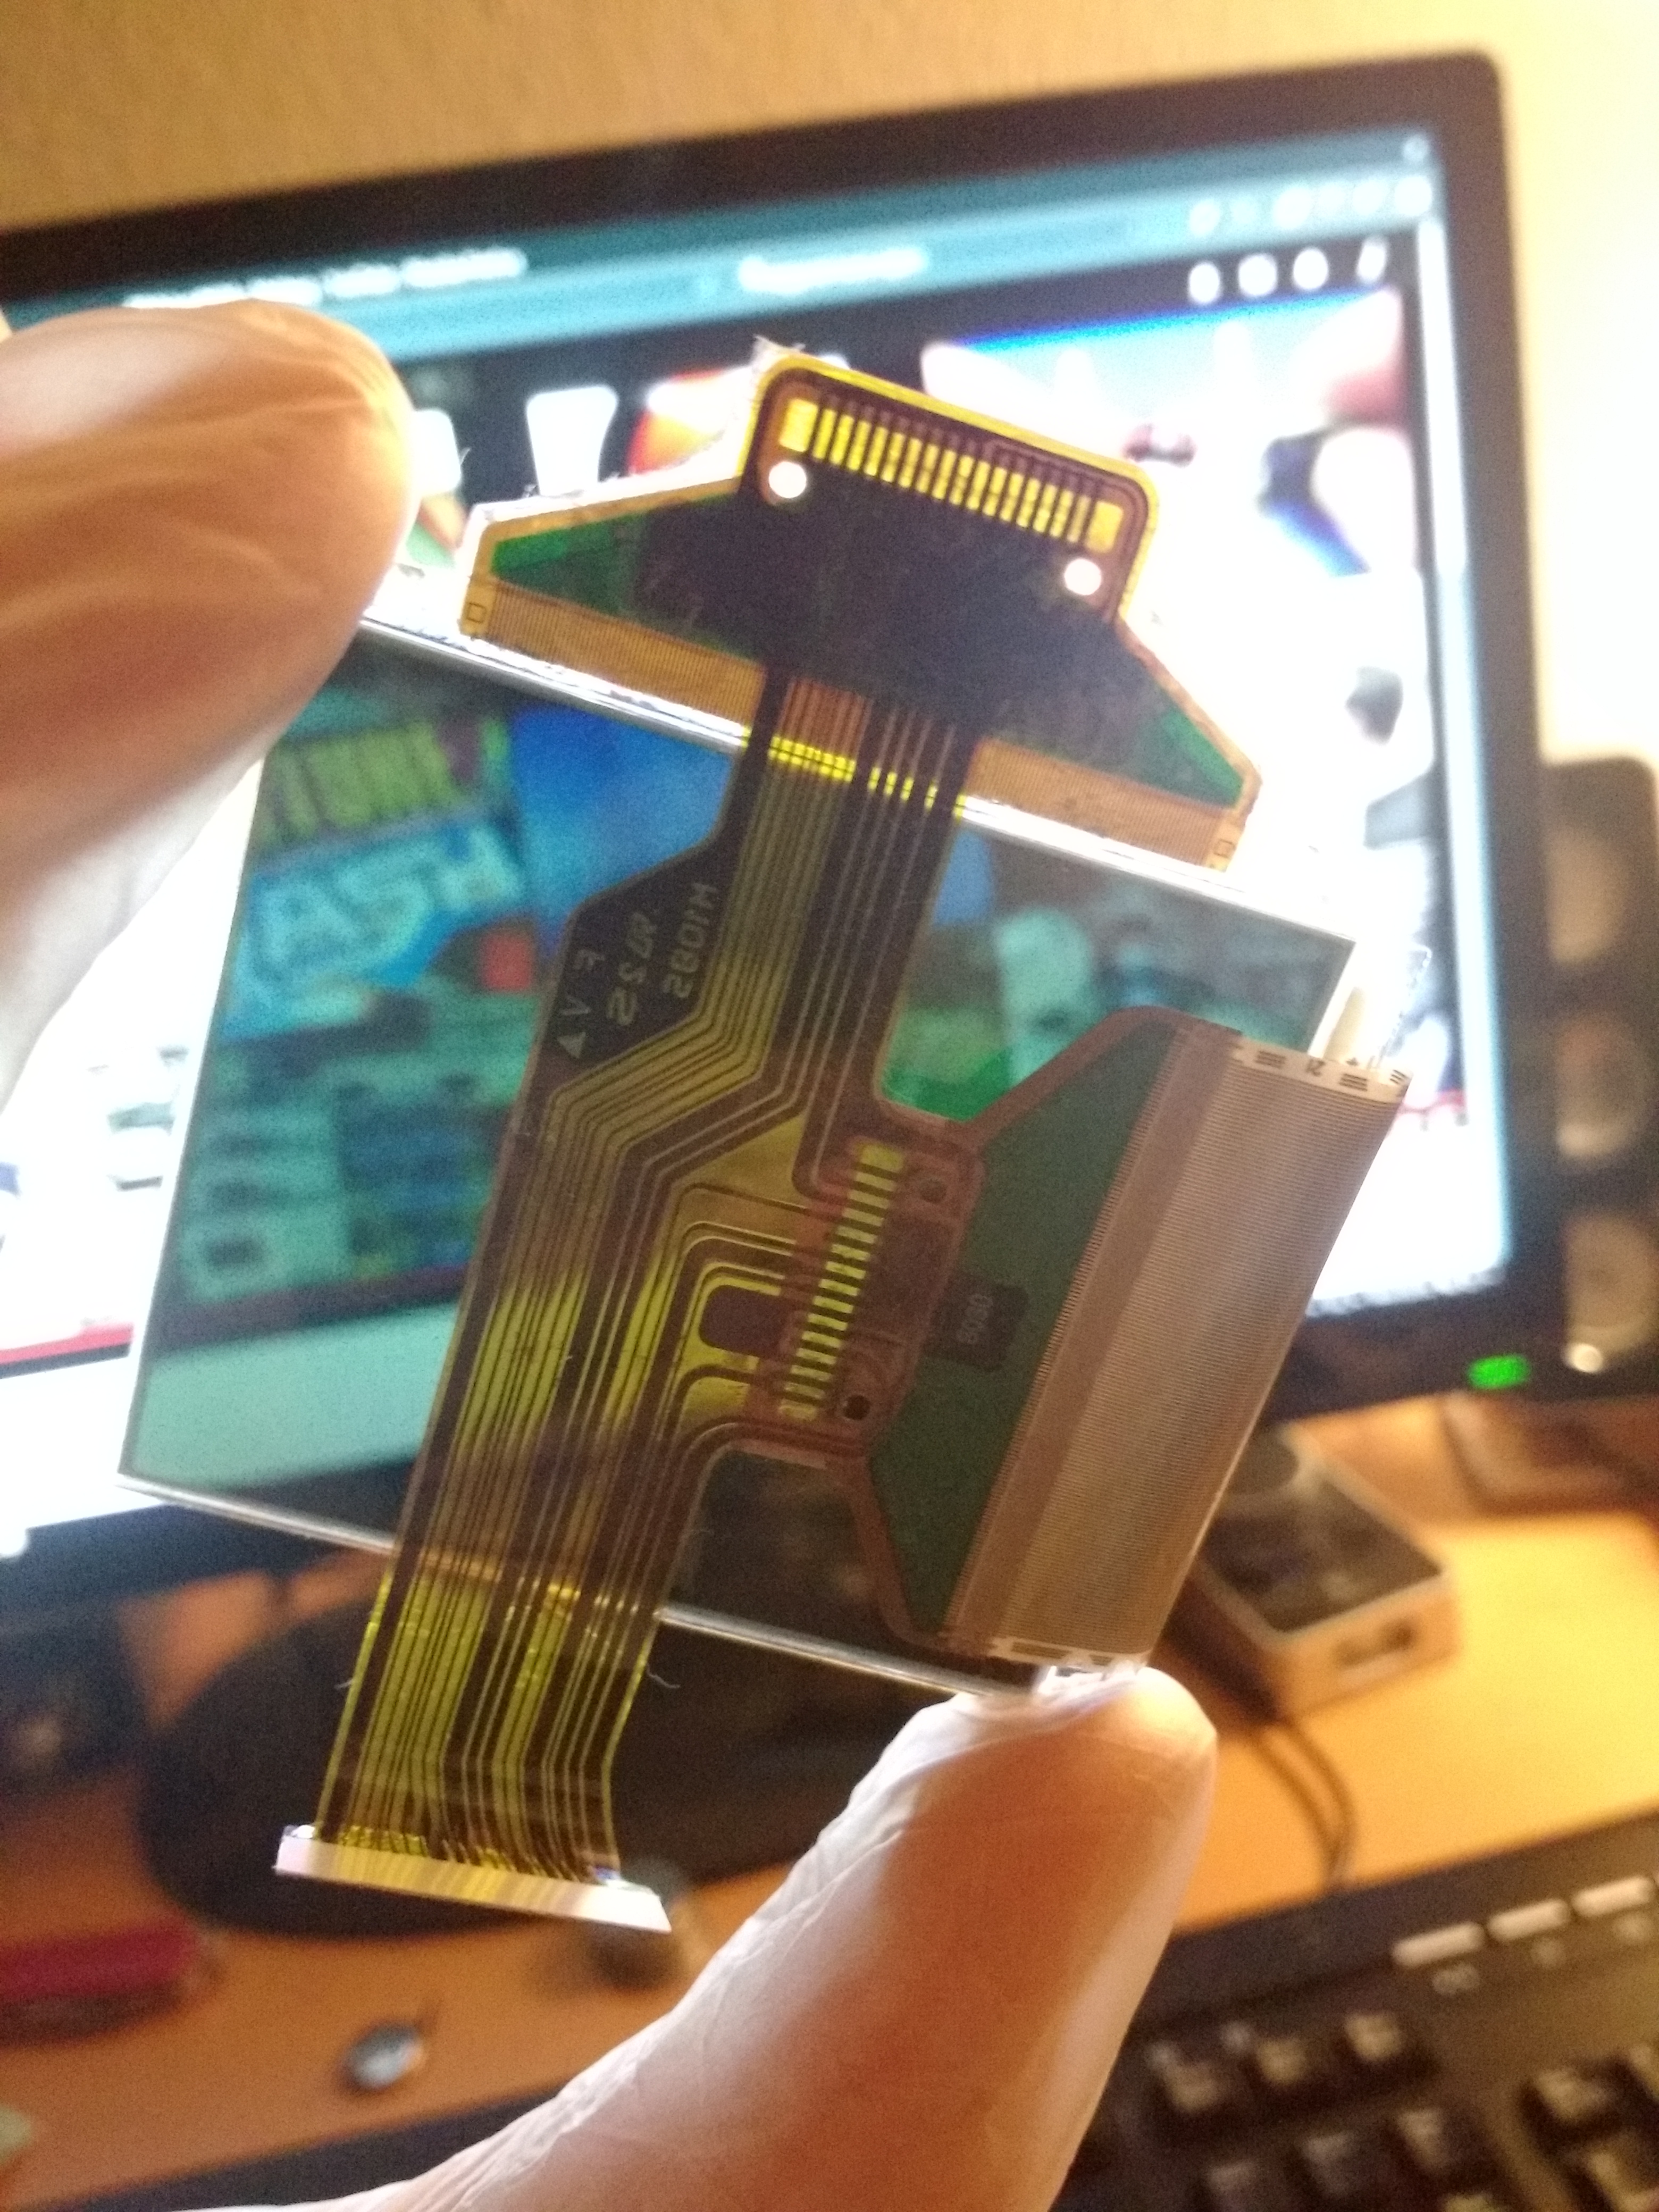
Next up is soldering the wires to the PCB. I soldered the red wire to the pin labled “6” and the blue wire to the pin labeled “4”. This is a bit different than most video tutorials did. They solder the red wire to the pin next to the + sign on the lower right instead. However, I saw a comment that mentioned that the pin by the + sign is part of the sound circuitry, and only gives out a maximum of 3.3V, meaning both that the screen will be dimmer (especially with the current backlight kit with included resistors) and it can also flicker with the sound. The pin labeled “6” however, right next to the larger capacitor (C30), gives out a constant 5V. Here’s the end result so you can see how it’s supposed to be:

And with that the installation is pretty much done. Let’s flip it over and give it a try.
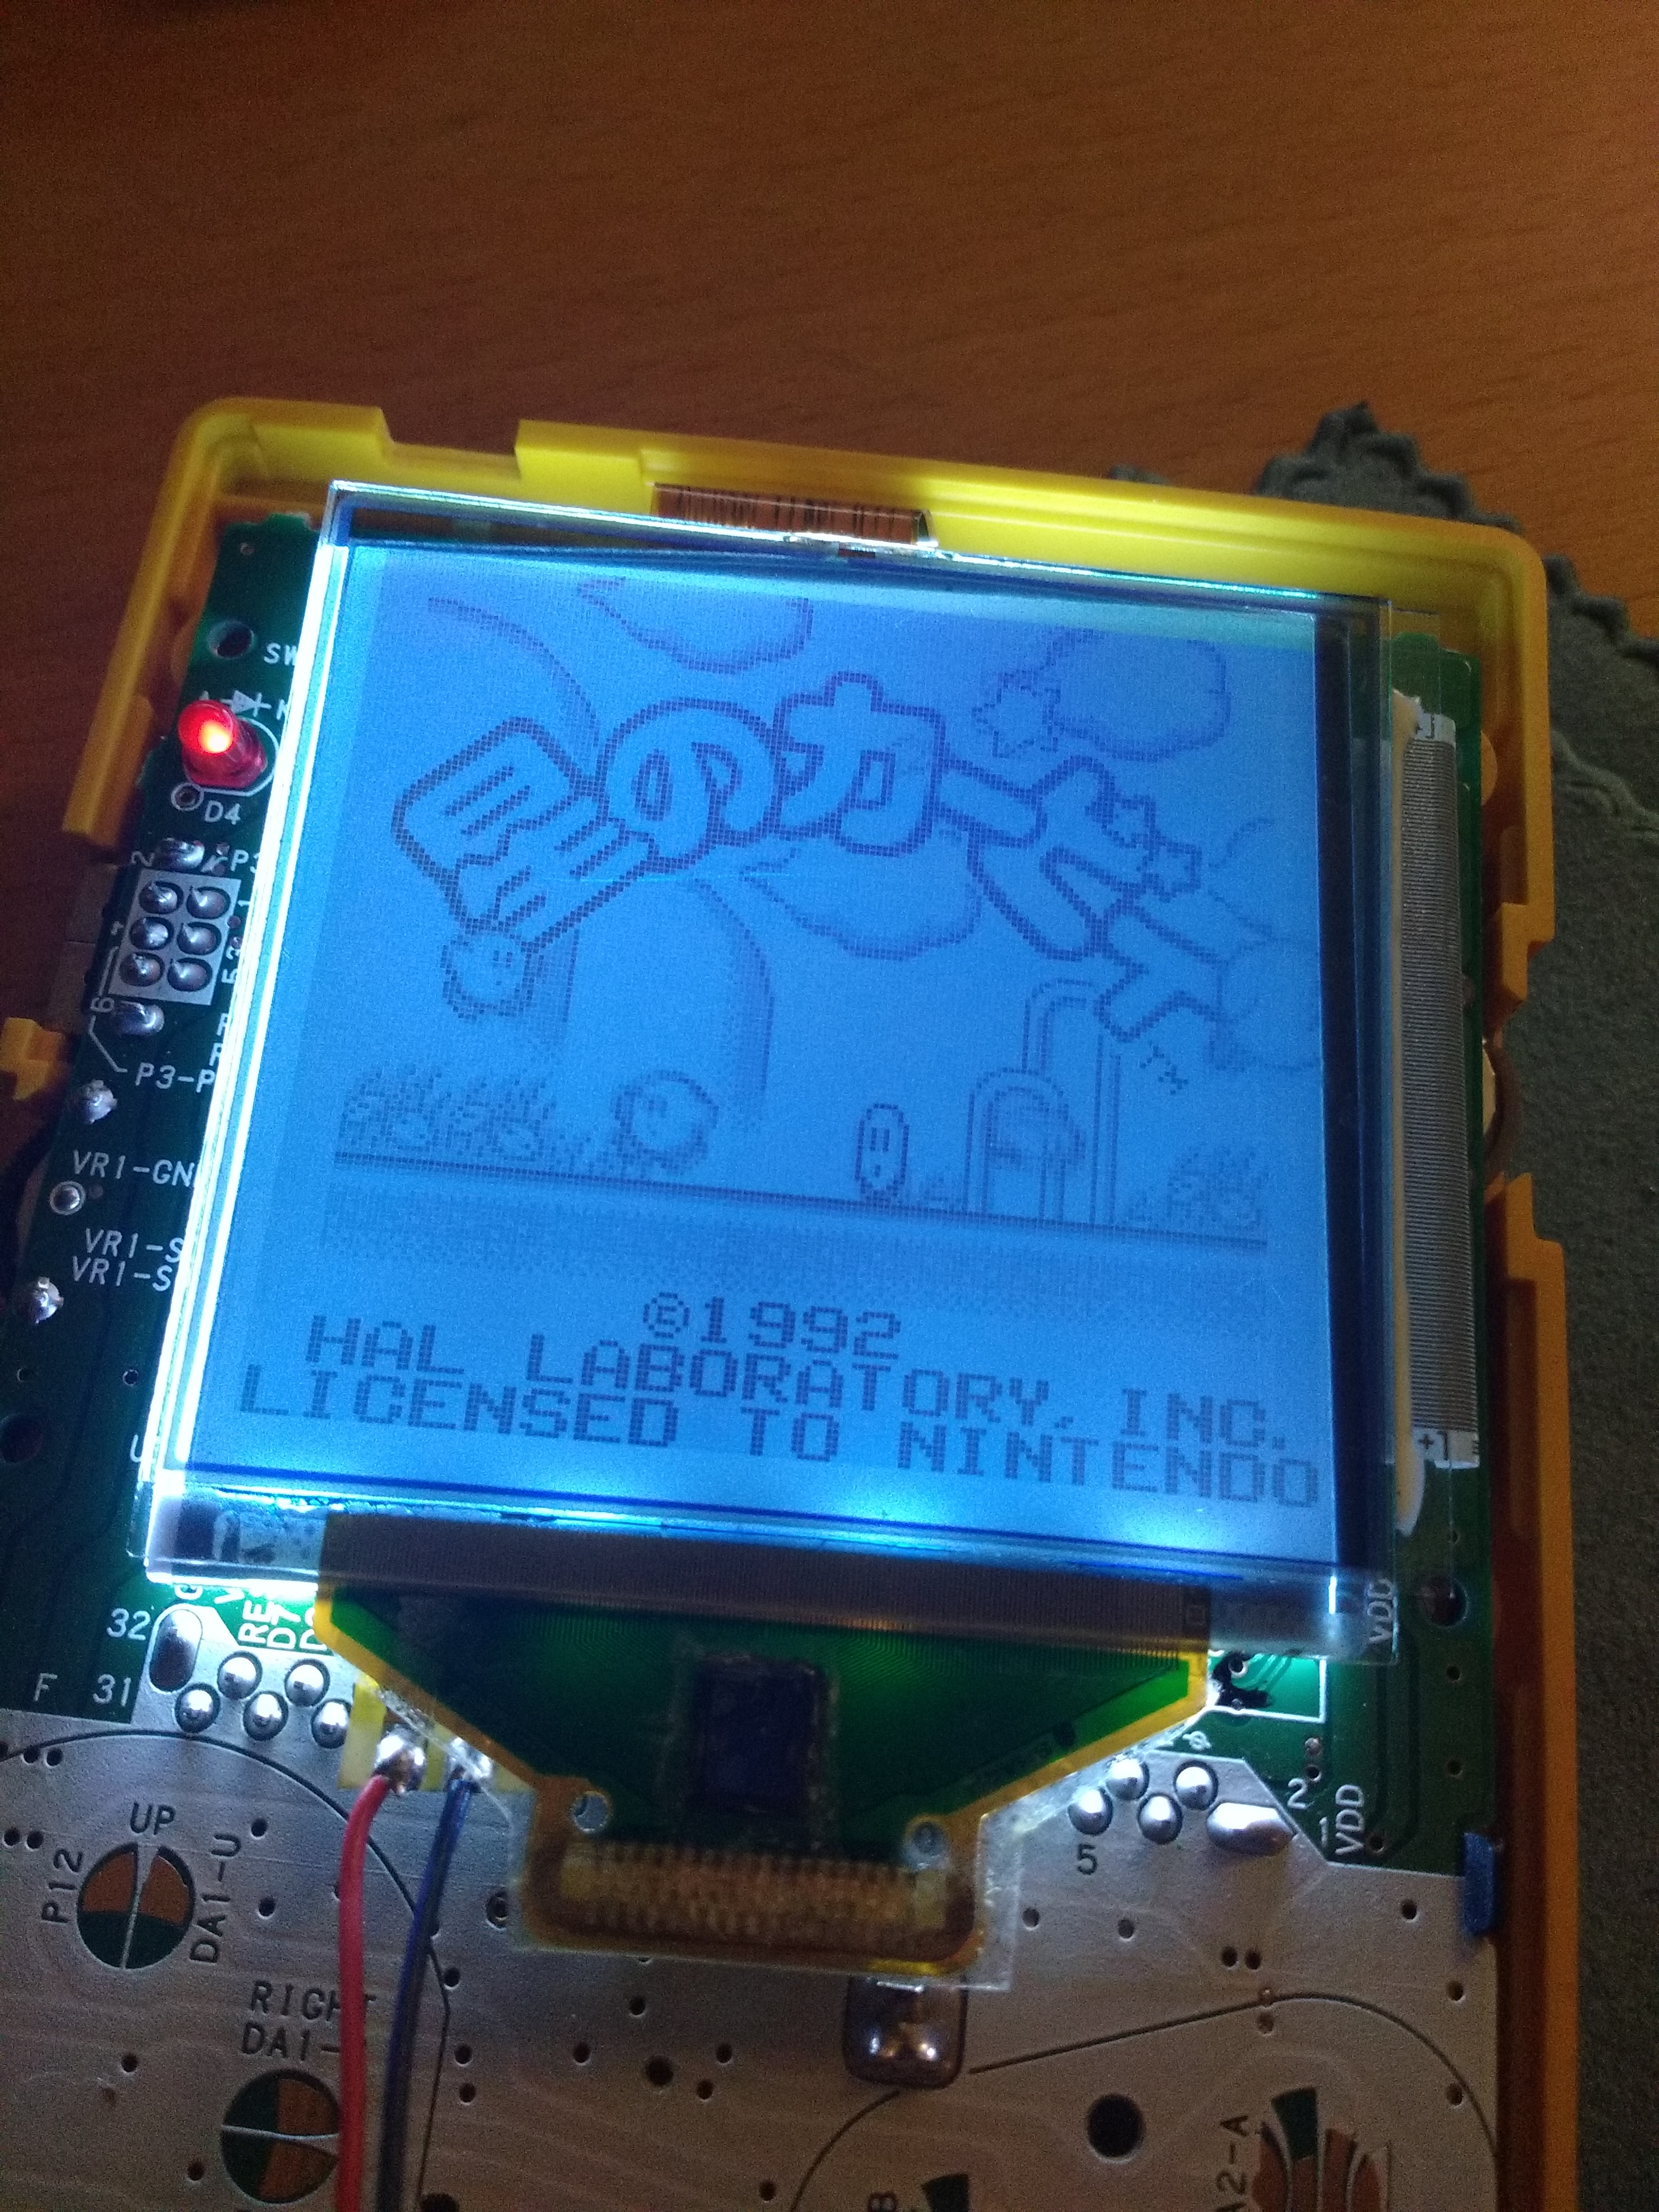
Success! Note that the screen is blueish here. That’s because I put the polarizing filter in the wrong way. Whoops! No biggie though, just turn it 90 degrees and it’ll become white. Also ignore the “scratches” on the screen. That’s because I didn’t remove the protective film from the polarization filter yet. So the scratches are on those films and not on the screen itself.
Unfortunately, after this I managed to get one dead horizontal line when re-assembling the console. This is caused when the screen ribbon cable (the one on the right side of the screen in the above image) gets stressed or torn so the solder points in the cable come loose. I was really bummed out by this since I’d heard it was pretty much unfixable, but I found a very helpful video that showed how they can be fixed. As it turns out, it’s really just as simple as fixing the dead vertical lines on an original Game Boy. So I gave it a try and was able to restore the dead line without too much trouble!
After this I ran into another issue. The Nintendo logo was all garbled when I booted the console up, almost like it had a bad connection with the cart but with more vertical glitches. I eventually realized that the solder points on the backlight ribbon cable was shorting out one of the cartridge pins. So I just put a piece of electrical tape over the solder points and the issue went away… rookie mistake.
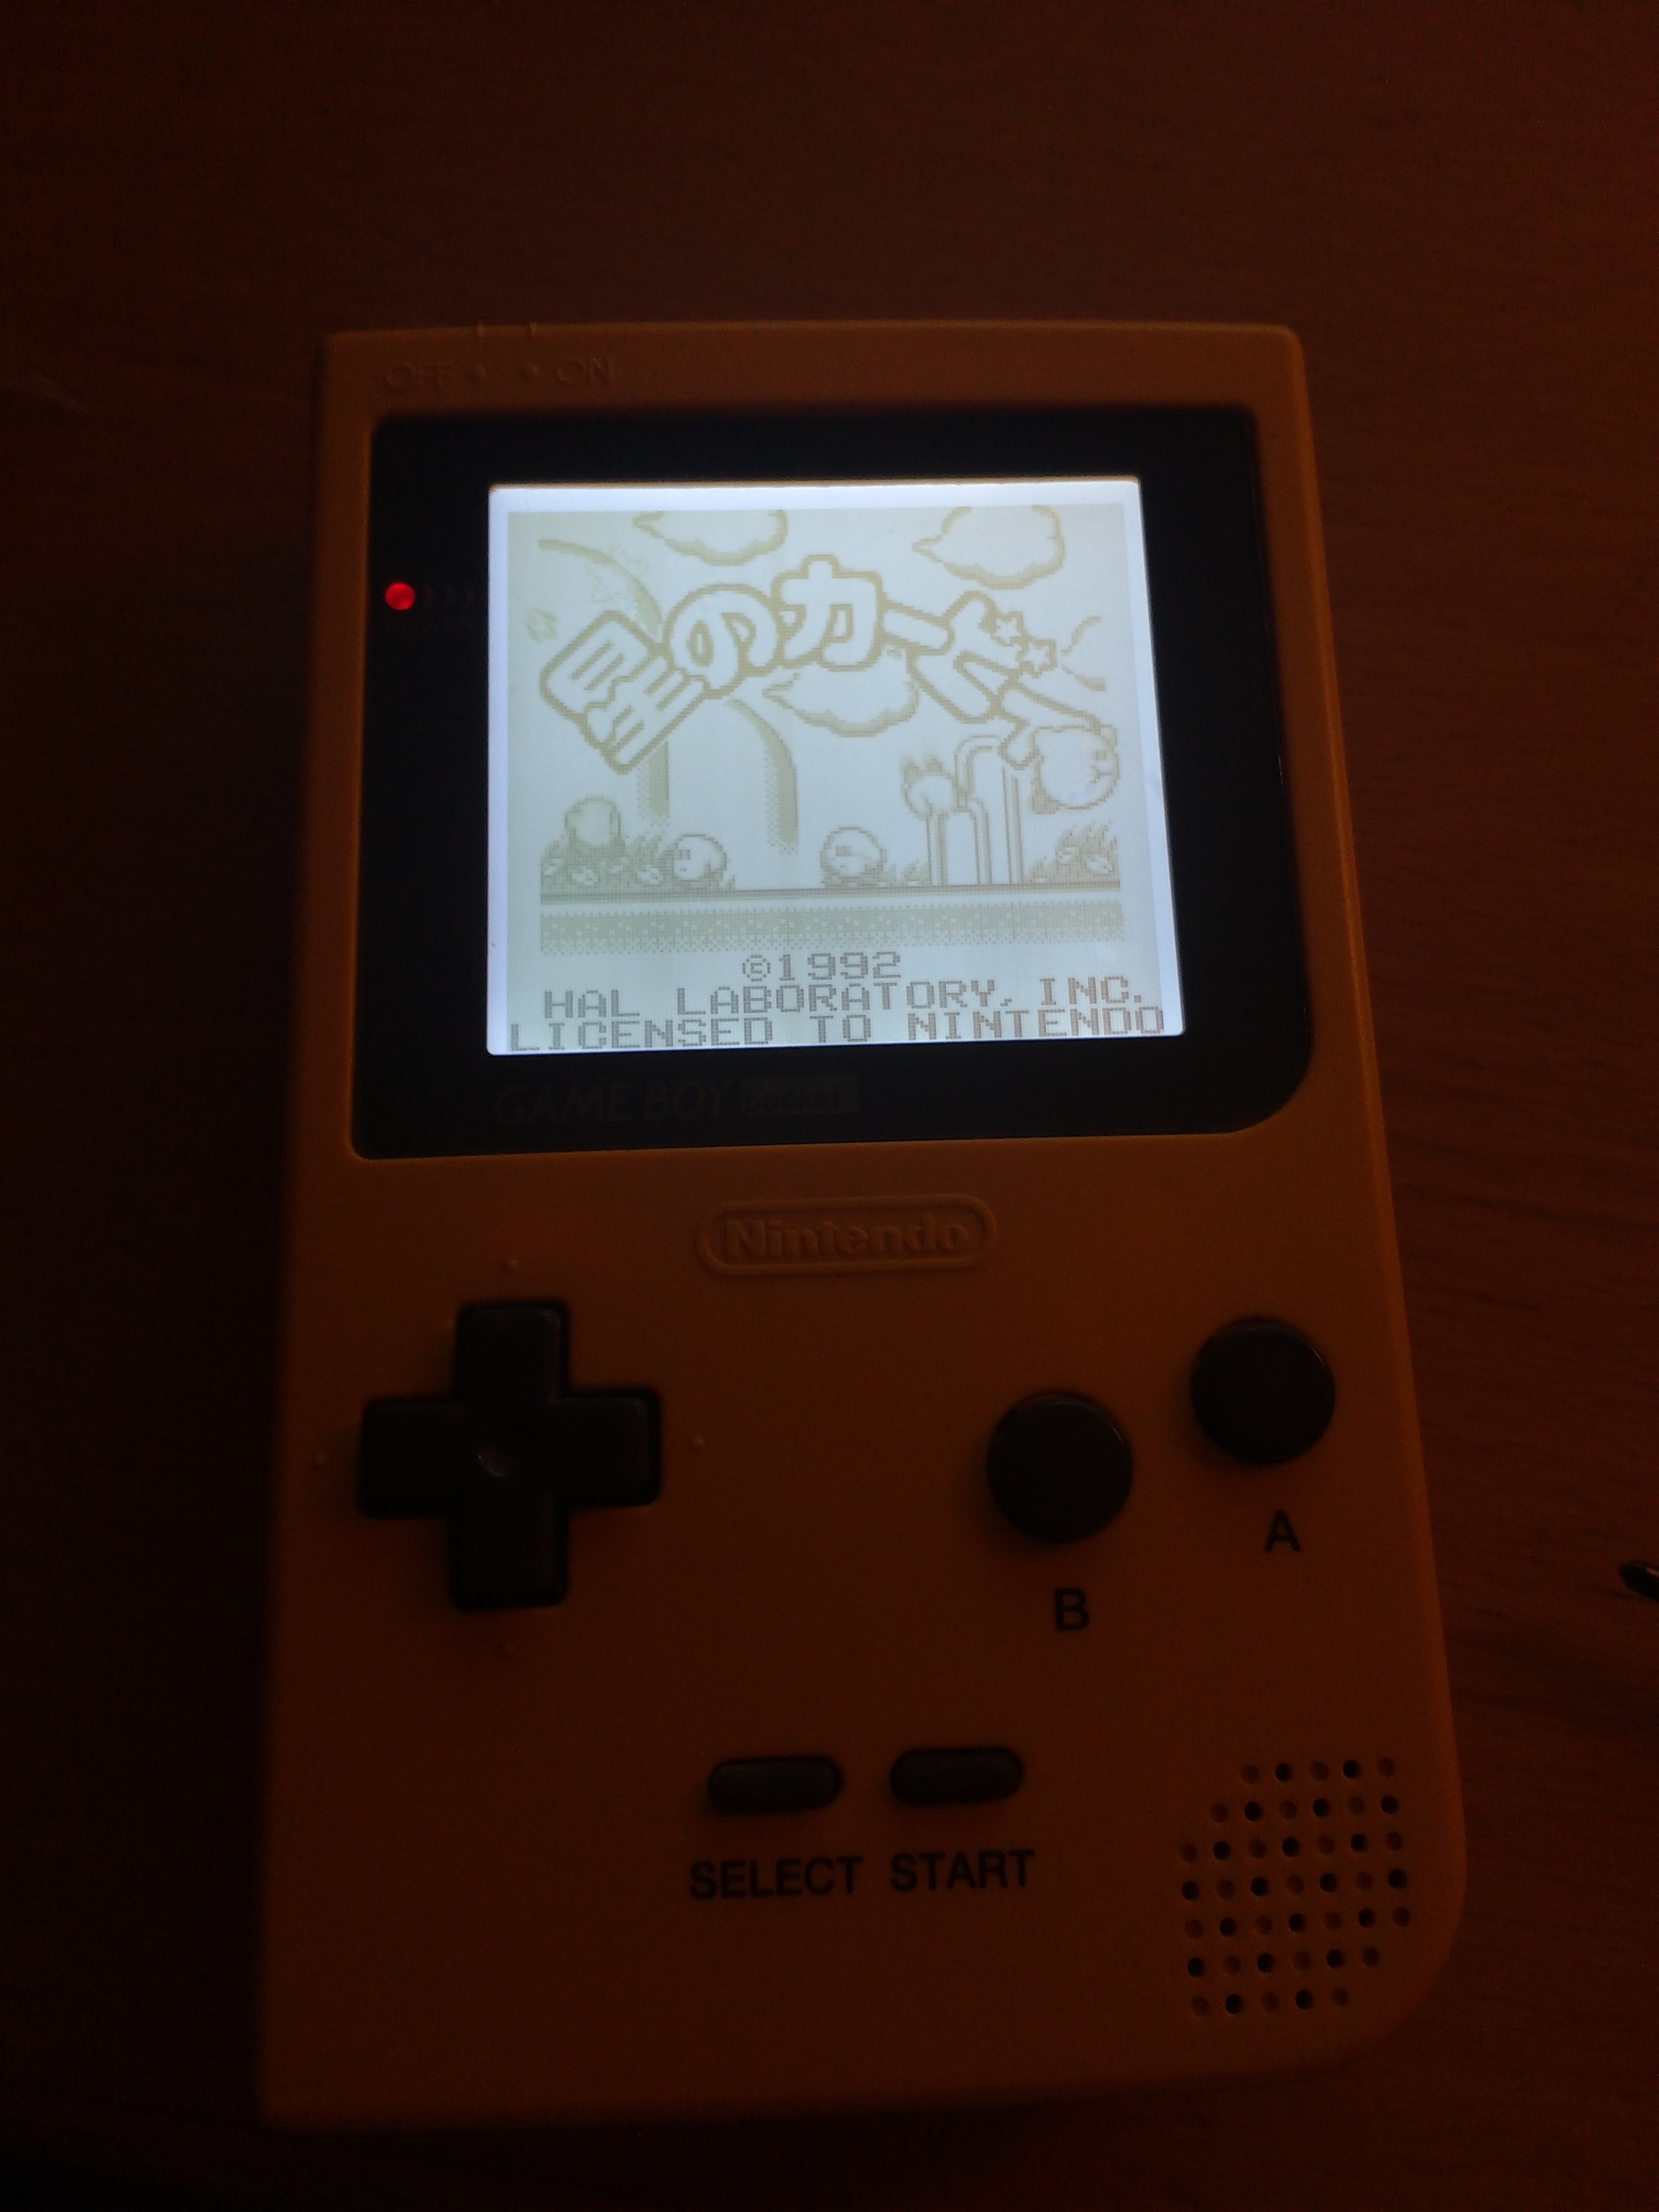
Here’s the fully assembled console:
While I’m really happy with the result, I’m not sure I want to go through that again… Especially removing the reflector and cleaning the screen and being careful not to damage the ribbon cable was really nerve-wrecking and time-consuming. In the end it was definitely worth it though. The Game Boy Pocket is my favorite Game Boy console and having a backlit one is really neat.
I’m still debating whether or not I’ll do the bivert mod though. While the bivert mod increases the contrast of the screen, it also makes the screen blueish like in the earlier picture above, since you then have to rotate the polarization filter to invert the colors back to normal again. And I kind of like having a white screen. The contrast on a non-biverted Pocket is also way better than a non-biverted original Game Boy, so I’m not sure installing the bivert mod will be as dramatic of an improvement on the Pocket. Although compared to getting that screen cleaned it seems a lot easier to install a bivert mod, so I might do it anyway just as a learning experience.
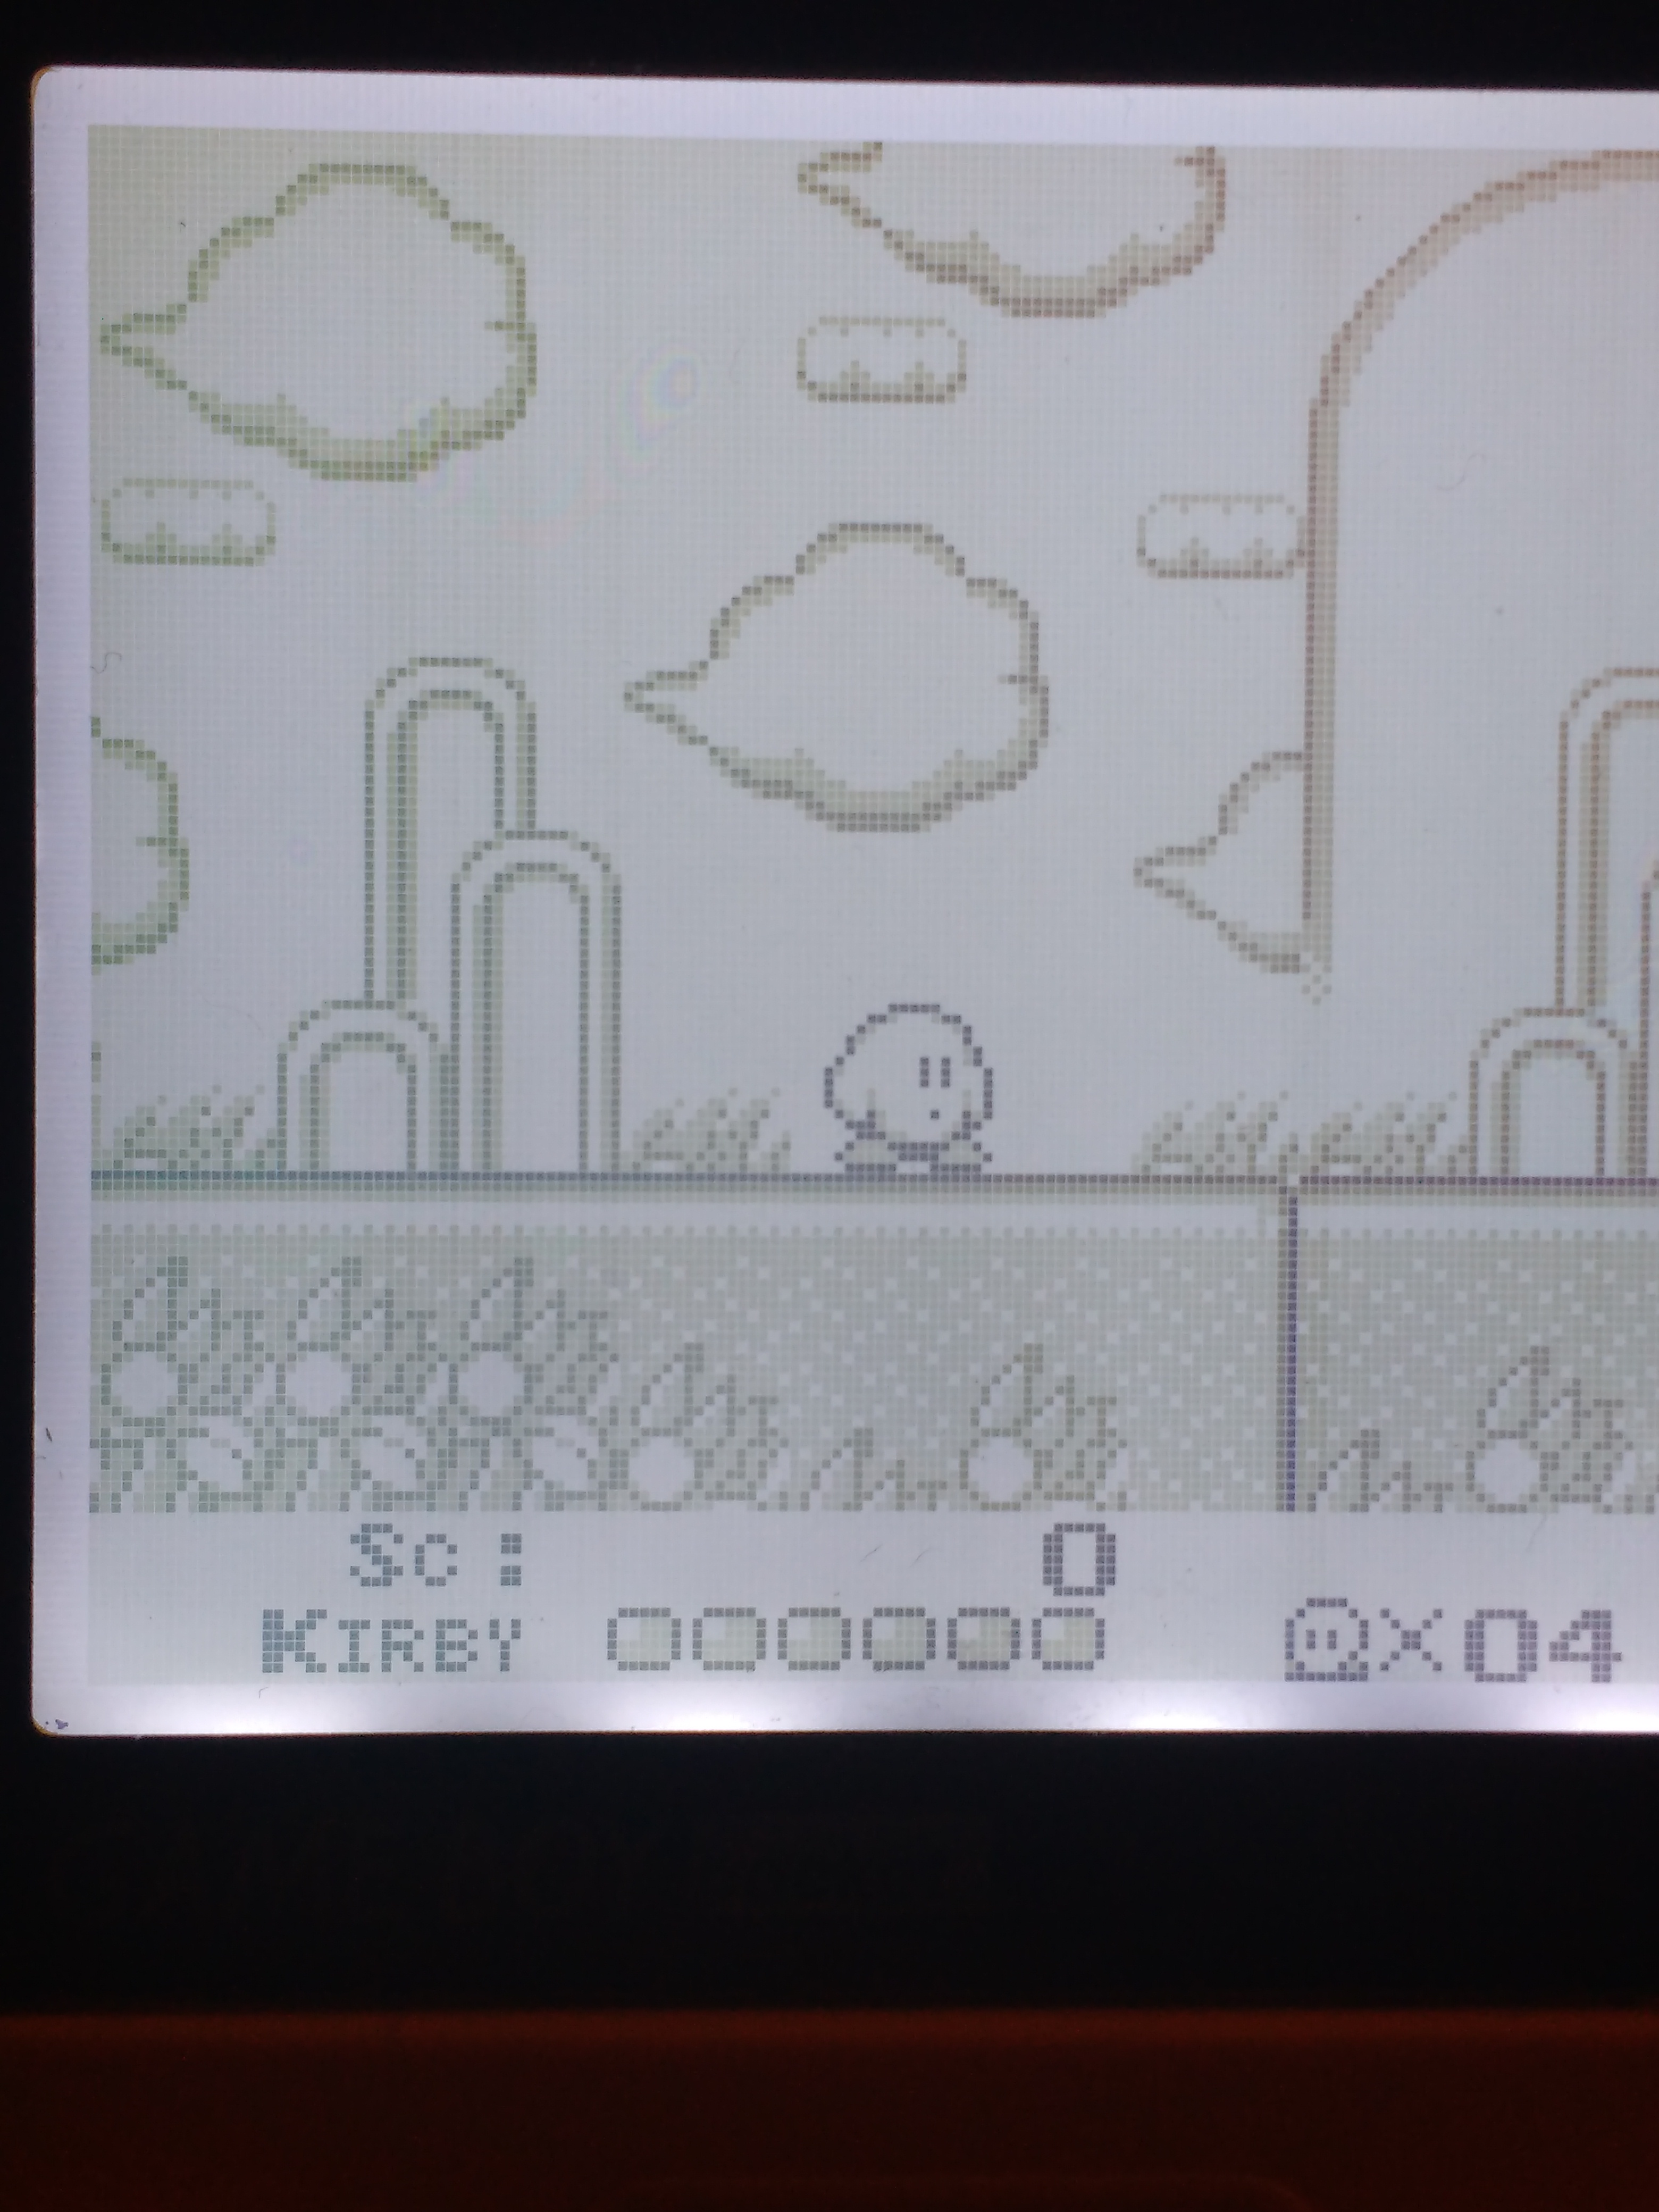
I’ll have to open it up again anyway and clean the screen a bit more since there seems to be some dust specs and some residue from the cleaning agent still there as you can see in the close-up photo of the screen. That’s when I might do the bivert mod.
Links:
Hey. I’ve done the mod myself and got a little vertical shadowing effect. Just like on your final picture. Was wondering in this normal for the GBP. Never had one before. Oh, and the bivert – doesn’t make any really noticable difference.
Hi Walt,
Yes this is a common issue with the GBP screens. Actually, issue might be the wrong word because it’s just the way they are. So it’s basically part of the experience. 🙂
Some have a more or less pronounced effect but they all do have it, whether they have a backlight or not. So that’s totally normal.
And thanks for letting me know about the bivert mod. I haven’t done the bivert mod yet and I probably won’t either. Especially not if you say there isn’t much of a difference anyway. Will probably save it for an original model GB instead.
Hi synt4x I got a modded gameboy pocket ,but whoever modded it soldered the red cable to the 3v one so it flickers I am going to move it to the 6th one with the 5v. just wondering I dont need a capicator or anything do i? because ive heard you need one ,but it looks like you didnt and yours is fine.
thanks.
I think it depends on the backlight mod you get. In my backlight modded DMG I do have a resistor, but I believe that was the Handheld Legend V2 mod. I don’t think it would be necessary with the V3 one. Other backlights might be different. But if there isn’t one in there already I don’t think it should be a problem.