A friend of mine was kind enough to get me a version 1 Sega Mega Drive for Christmas, since he knew I had been meaning to get one for quite some time now. The main reason I haven’t is that I’ve been a bit worried about the space all the games I’d get for it would take… but I guess I’ll have to worry about that as it happens now!
Either way, the Mega Drive I received was a PAL unit, and these days I can’t stand playing games in 50hz with borders. So obviously something had to be done.
As I researched how to go about this, I quickly discovered that it thankfully seemed to be a pretty easy mod. At least on the MD1. The motherboard has four jumpers which are connected in various ways depending on the region the Mega Drive was released in. This meant that Sega didn’t have to make different boards for different regions. Instead they’d just have to connect the jumpers differently. So the mod simply consists of cutting the traces between the jumpers and soldering the points up to a switch, so you can select which jumpers are connected.
Which jumpers are connected on the board, and therefore which traces you have to cut, depends on the region the board was released in of course. What the jumpers do is that they select the refresh rate (50hz or 60hz) and the language (English or Japanese). So to have a truly region free console you have to connect all the appropriate points to a switch, so you can not only toggle the refresh rate but also the language. Apparently you used to do this by using two switches, which seems obvious. But a while back it was discovered by Nico de Poel that you can in fact connect these points to a single on-off-on switch instead. This is because if you leave one of the jumper pairs disconnected it gets automatically pulled up to +5V. When doing this it means the console defaults to a US NTSC setting, and toggling the switch switches between PAL and JP NTSC.
So with this knowledge in hand, I opened up my Mega Drive. My particular console was revision VA4, which happened to be the exact one that Nico’s guide used. Perfect. I located the area the jumpers were in and started cutting. Here’s the result:
 After that it was just a matter of soldering the wires to the appropriate points. It was also recommended that you remove the capacitor between the jumper pair JP1, so I did that as well. Apparently it can cause some issues when switching between US NTSC and JP NTSC.
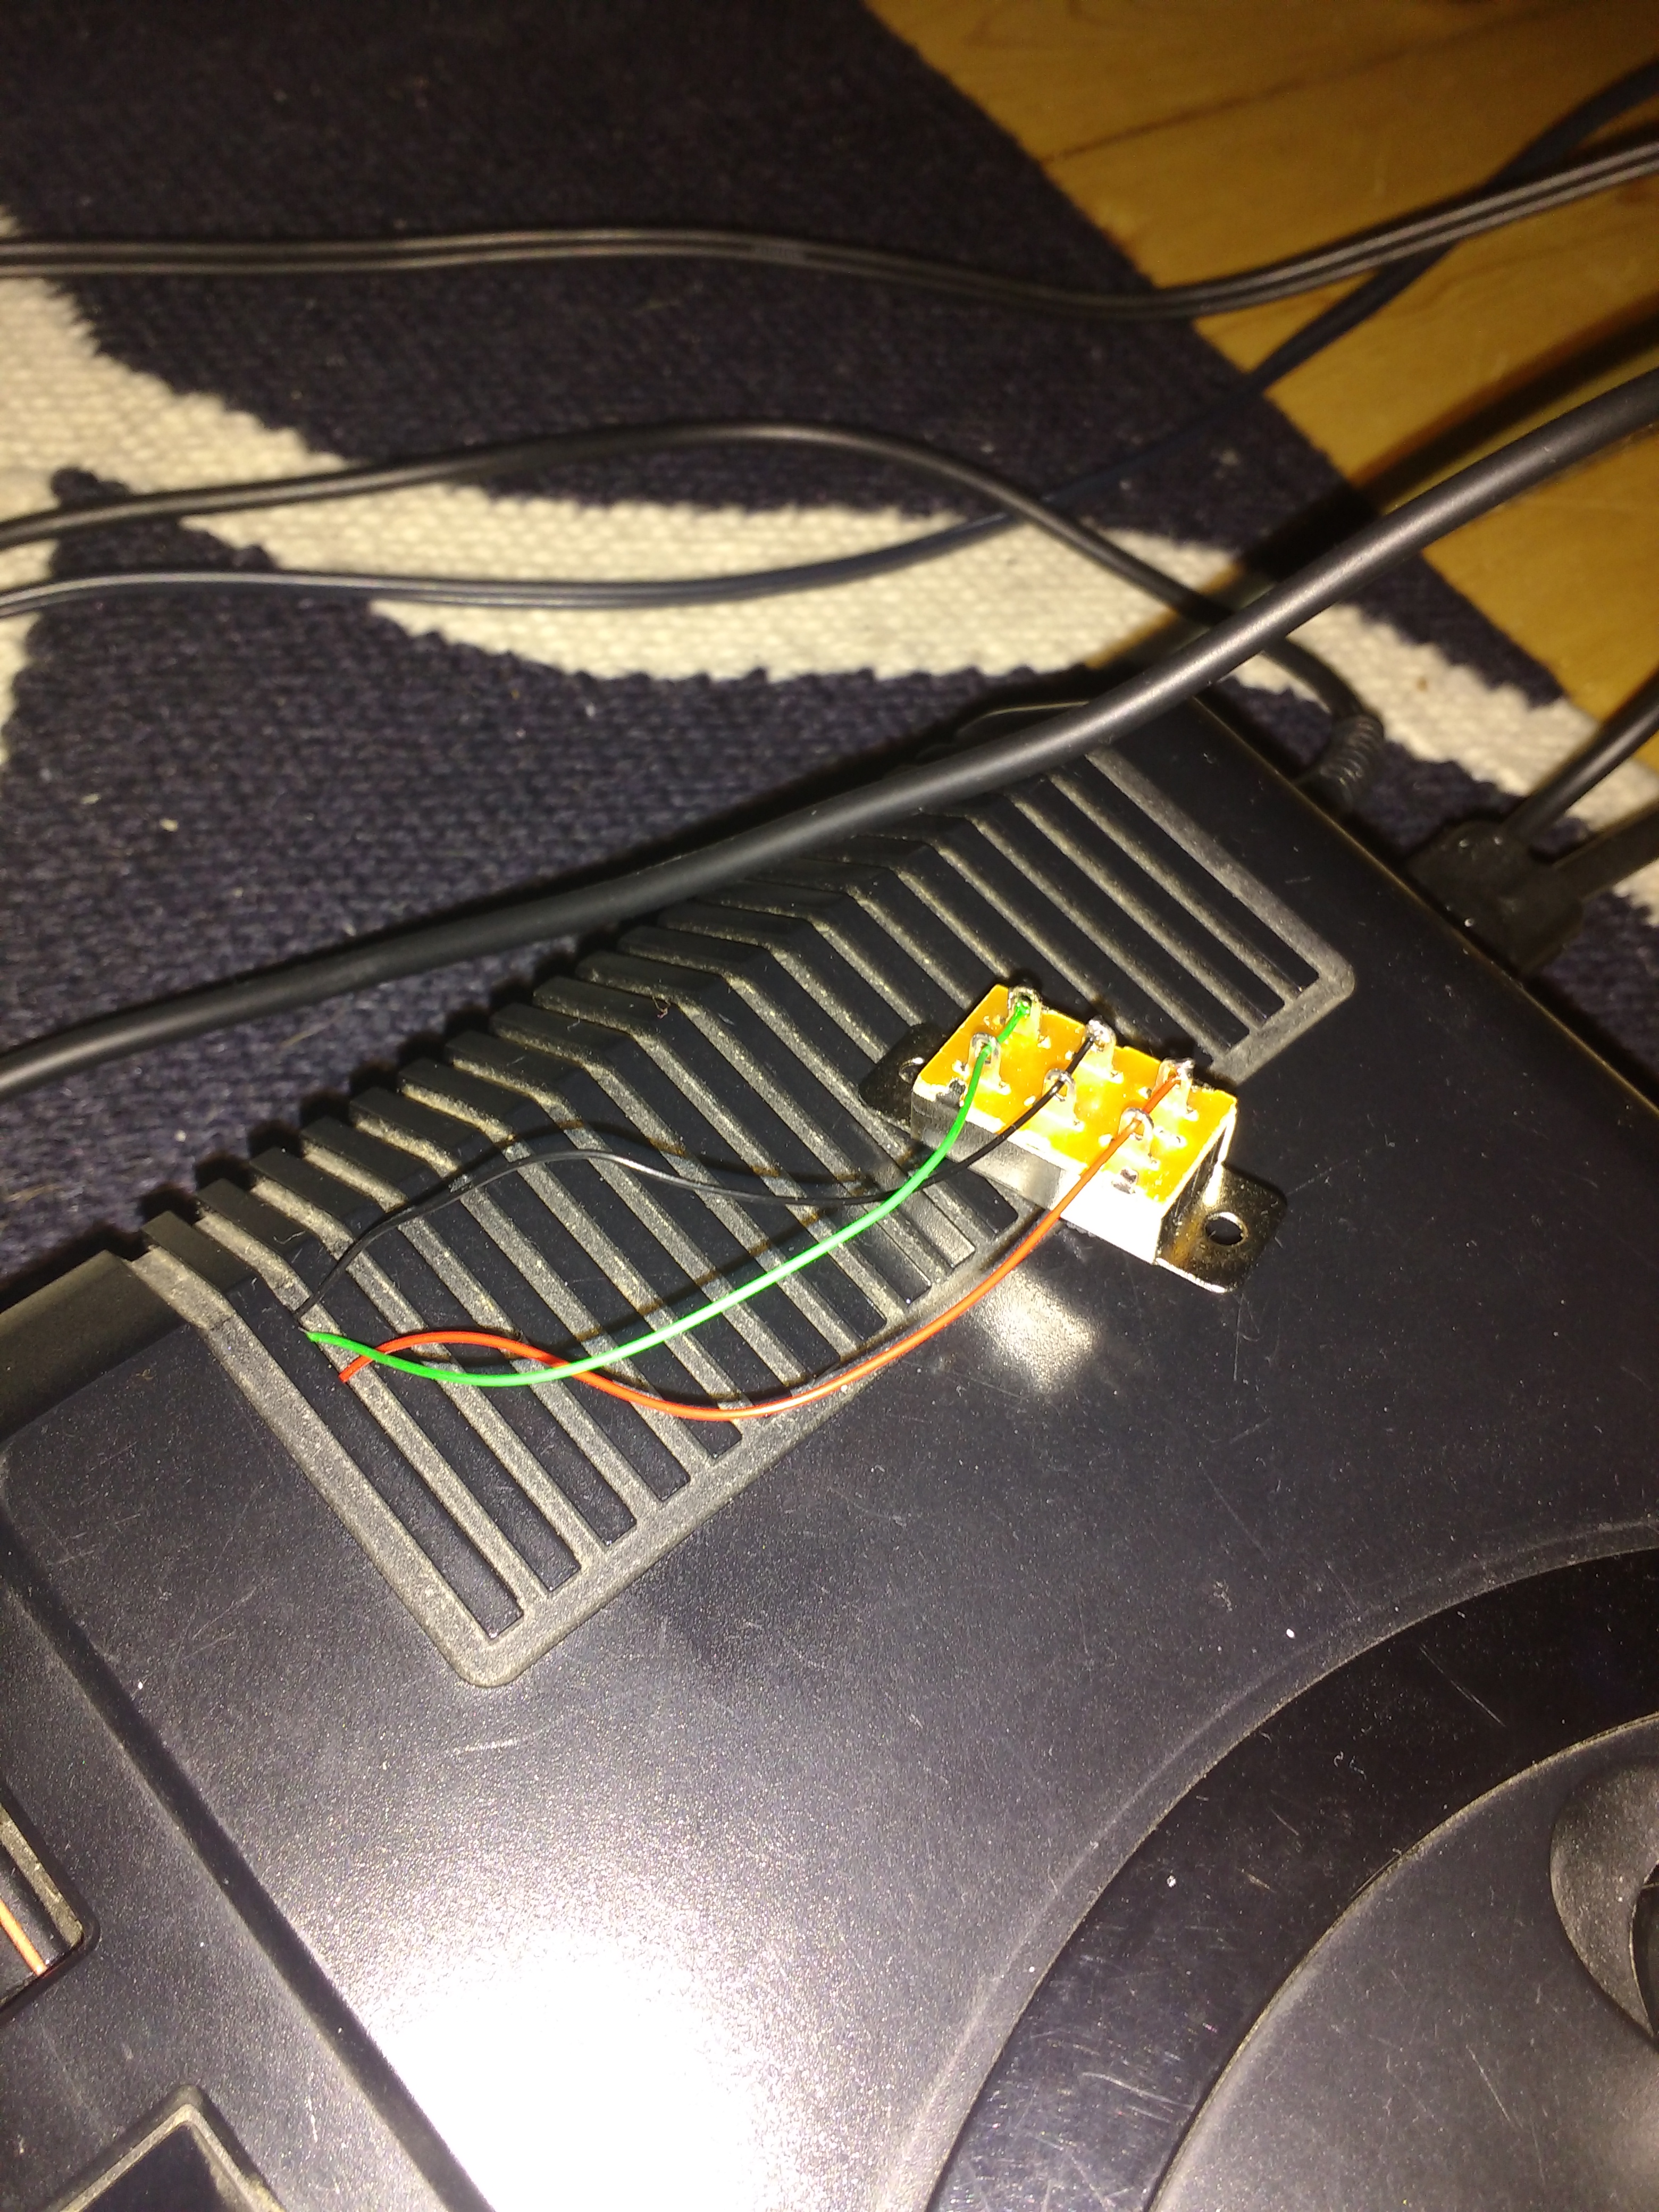
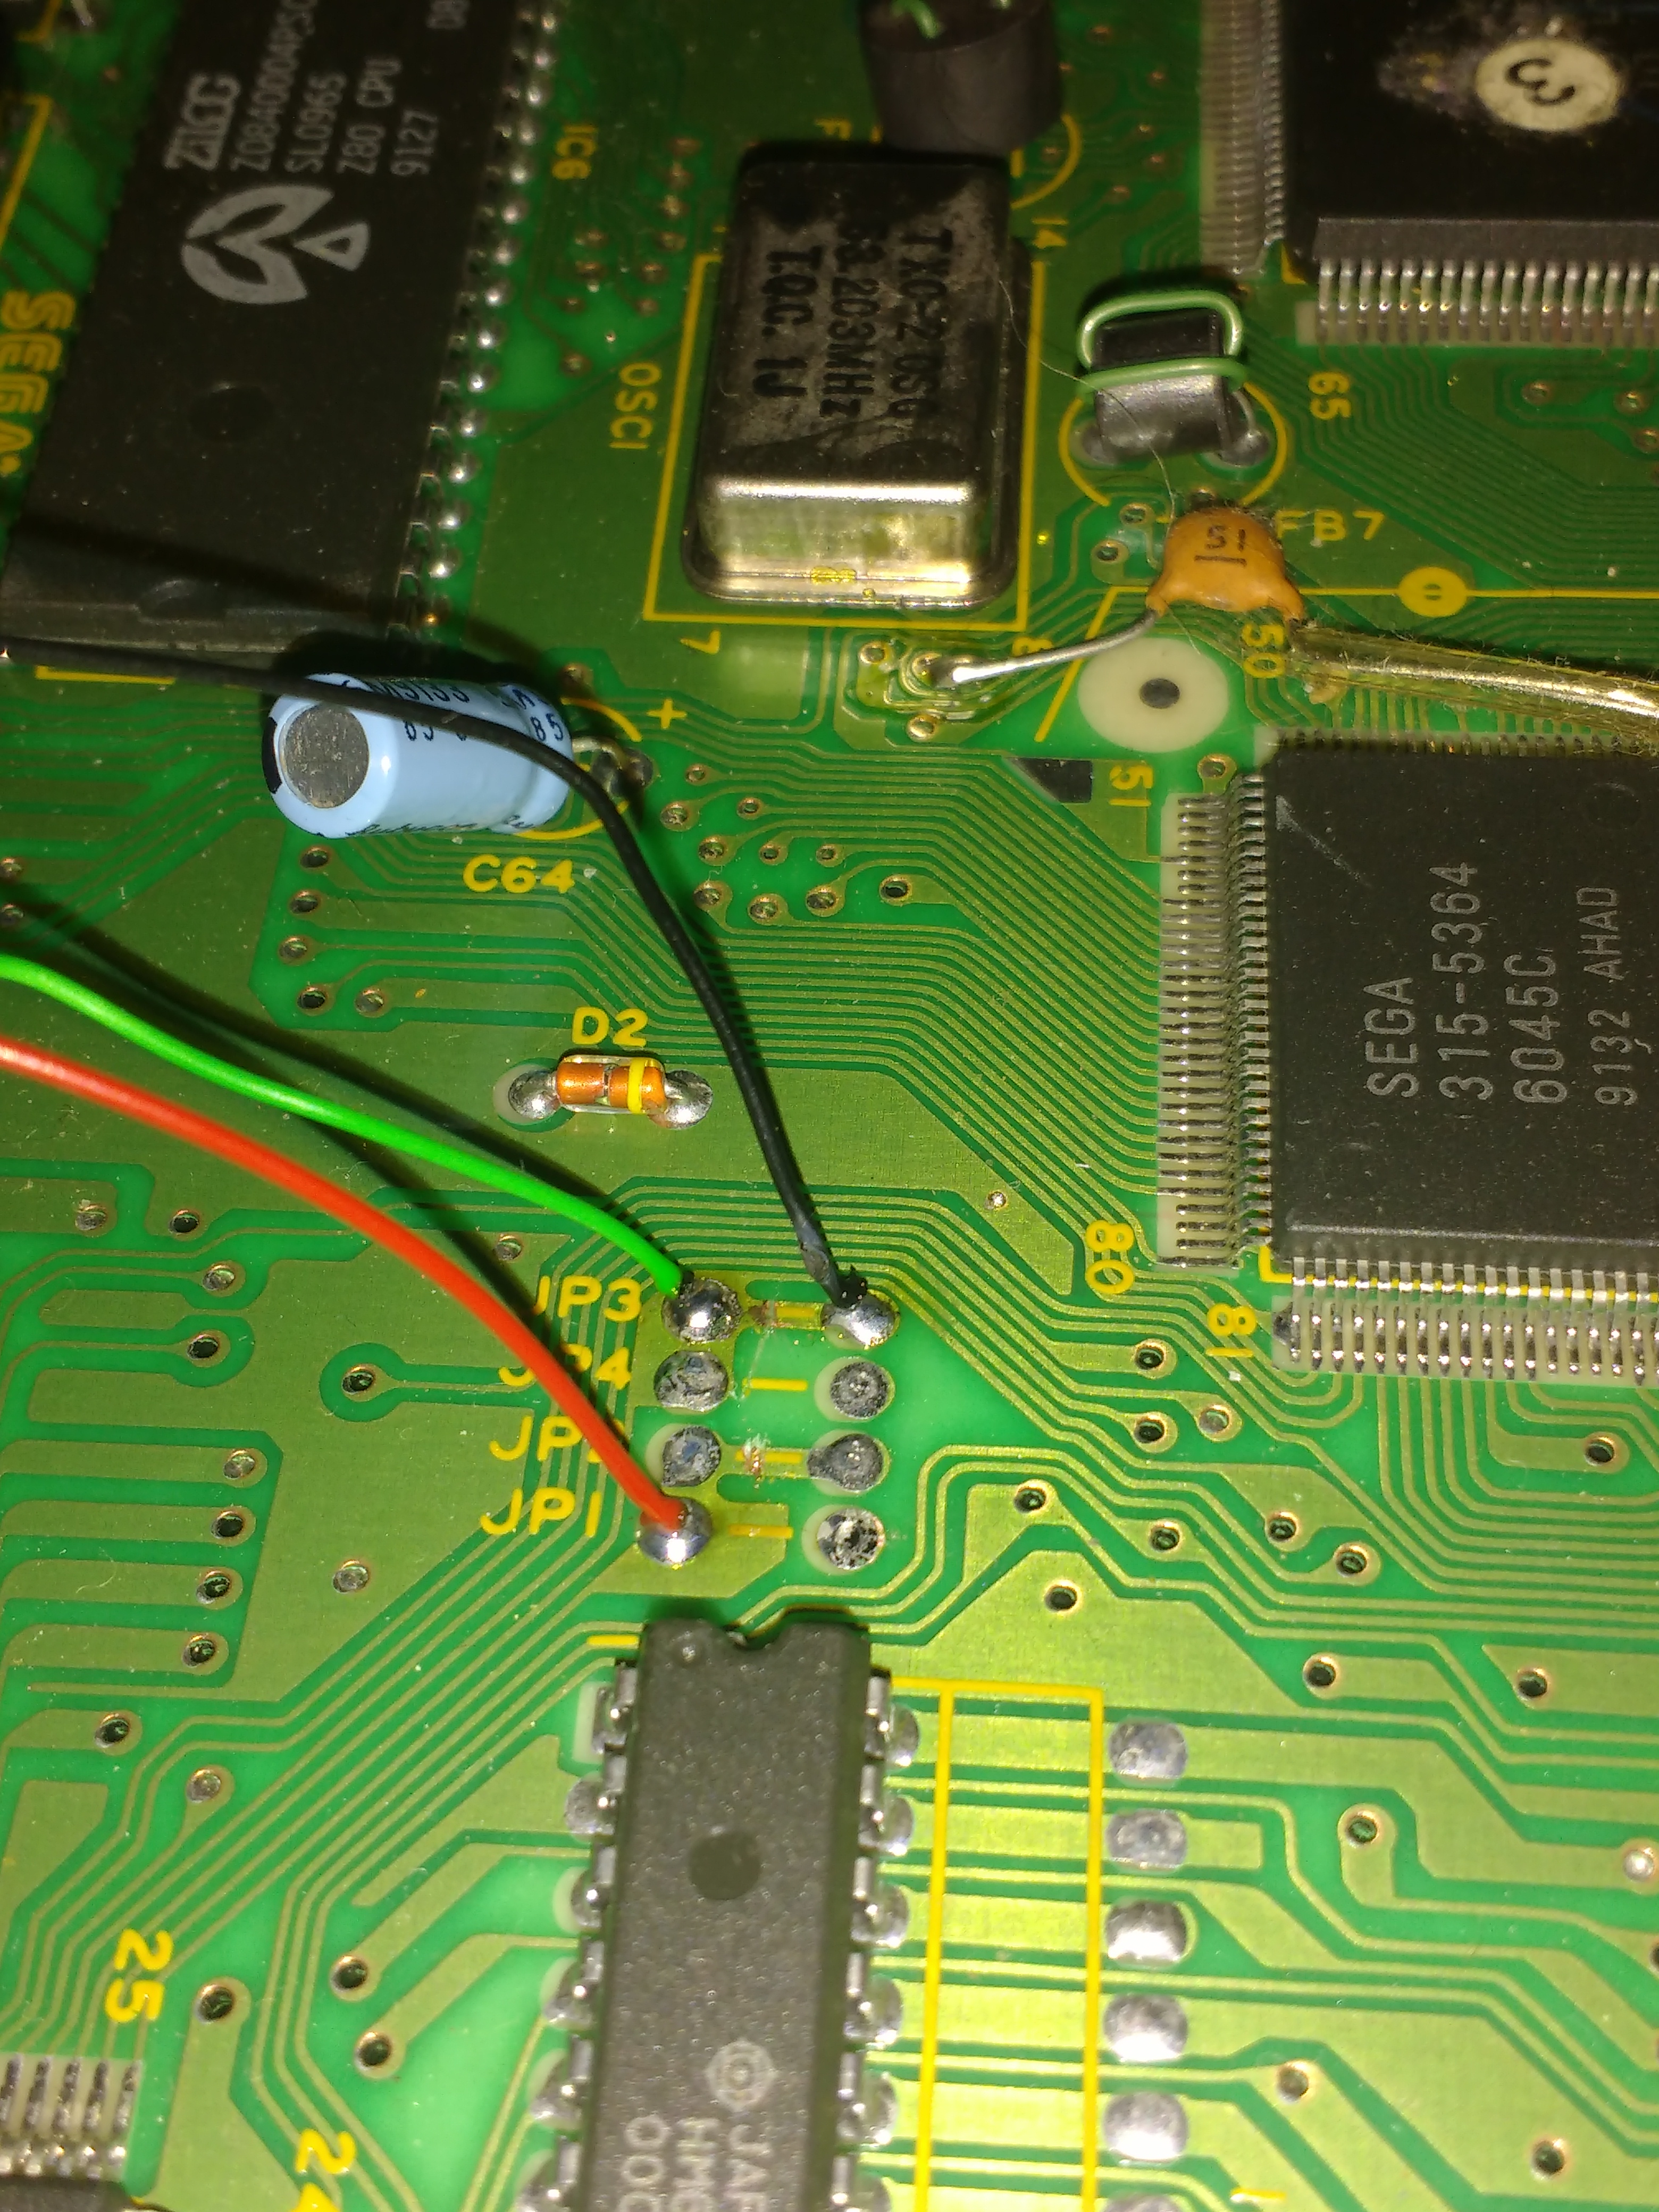 The black wire is connected to the right hand side of JP3, which is ground. The green wire is connected to the point that corresponds to PAL and the red wire is connected to what corresponds to JP NTSC. Next you connect the wires to the switch like this: Black (ground) wire in the middle, and the other two at the edges. This means that when the switch is in the middle (off) position, the console defaults to US NTSC mode.
However, I ran into a minor snag here. It turns out that the switches I ordered were pretty large. So large that I won’t be able to mount it to the side of the Mega Drive! Oops… I ordered some other switches and made sure to check the size of them this time. But in the mean-time I just routed the wires through the vent holes in the top of the Mega Drive and connected the switch outside instead.
 …well that’s certainly ugly, but I can just resolder the wires to the new switch when they come in later and properly mount it to the side.
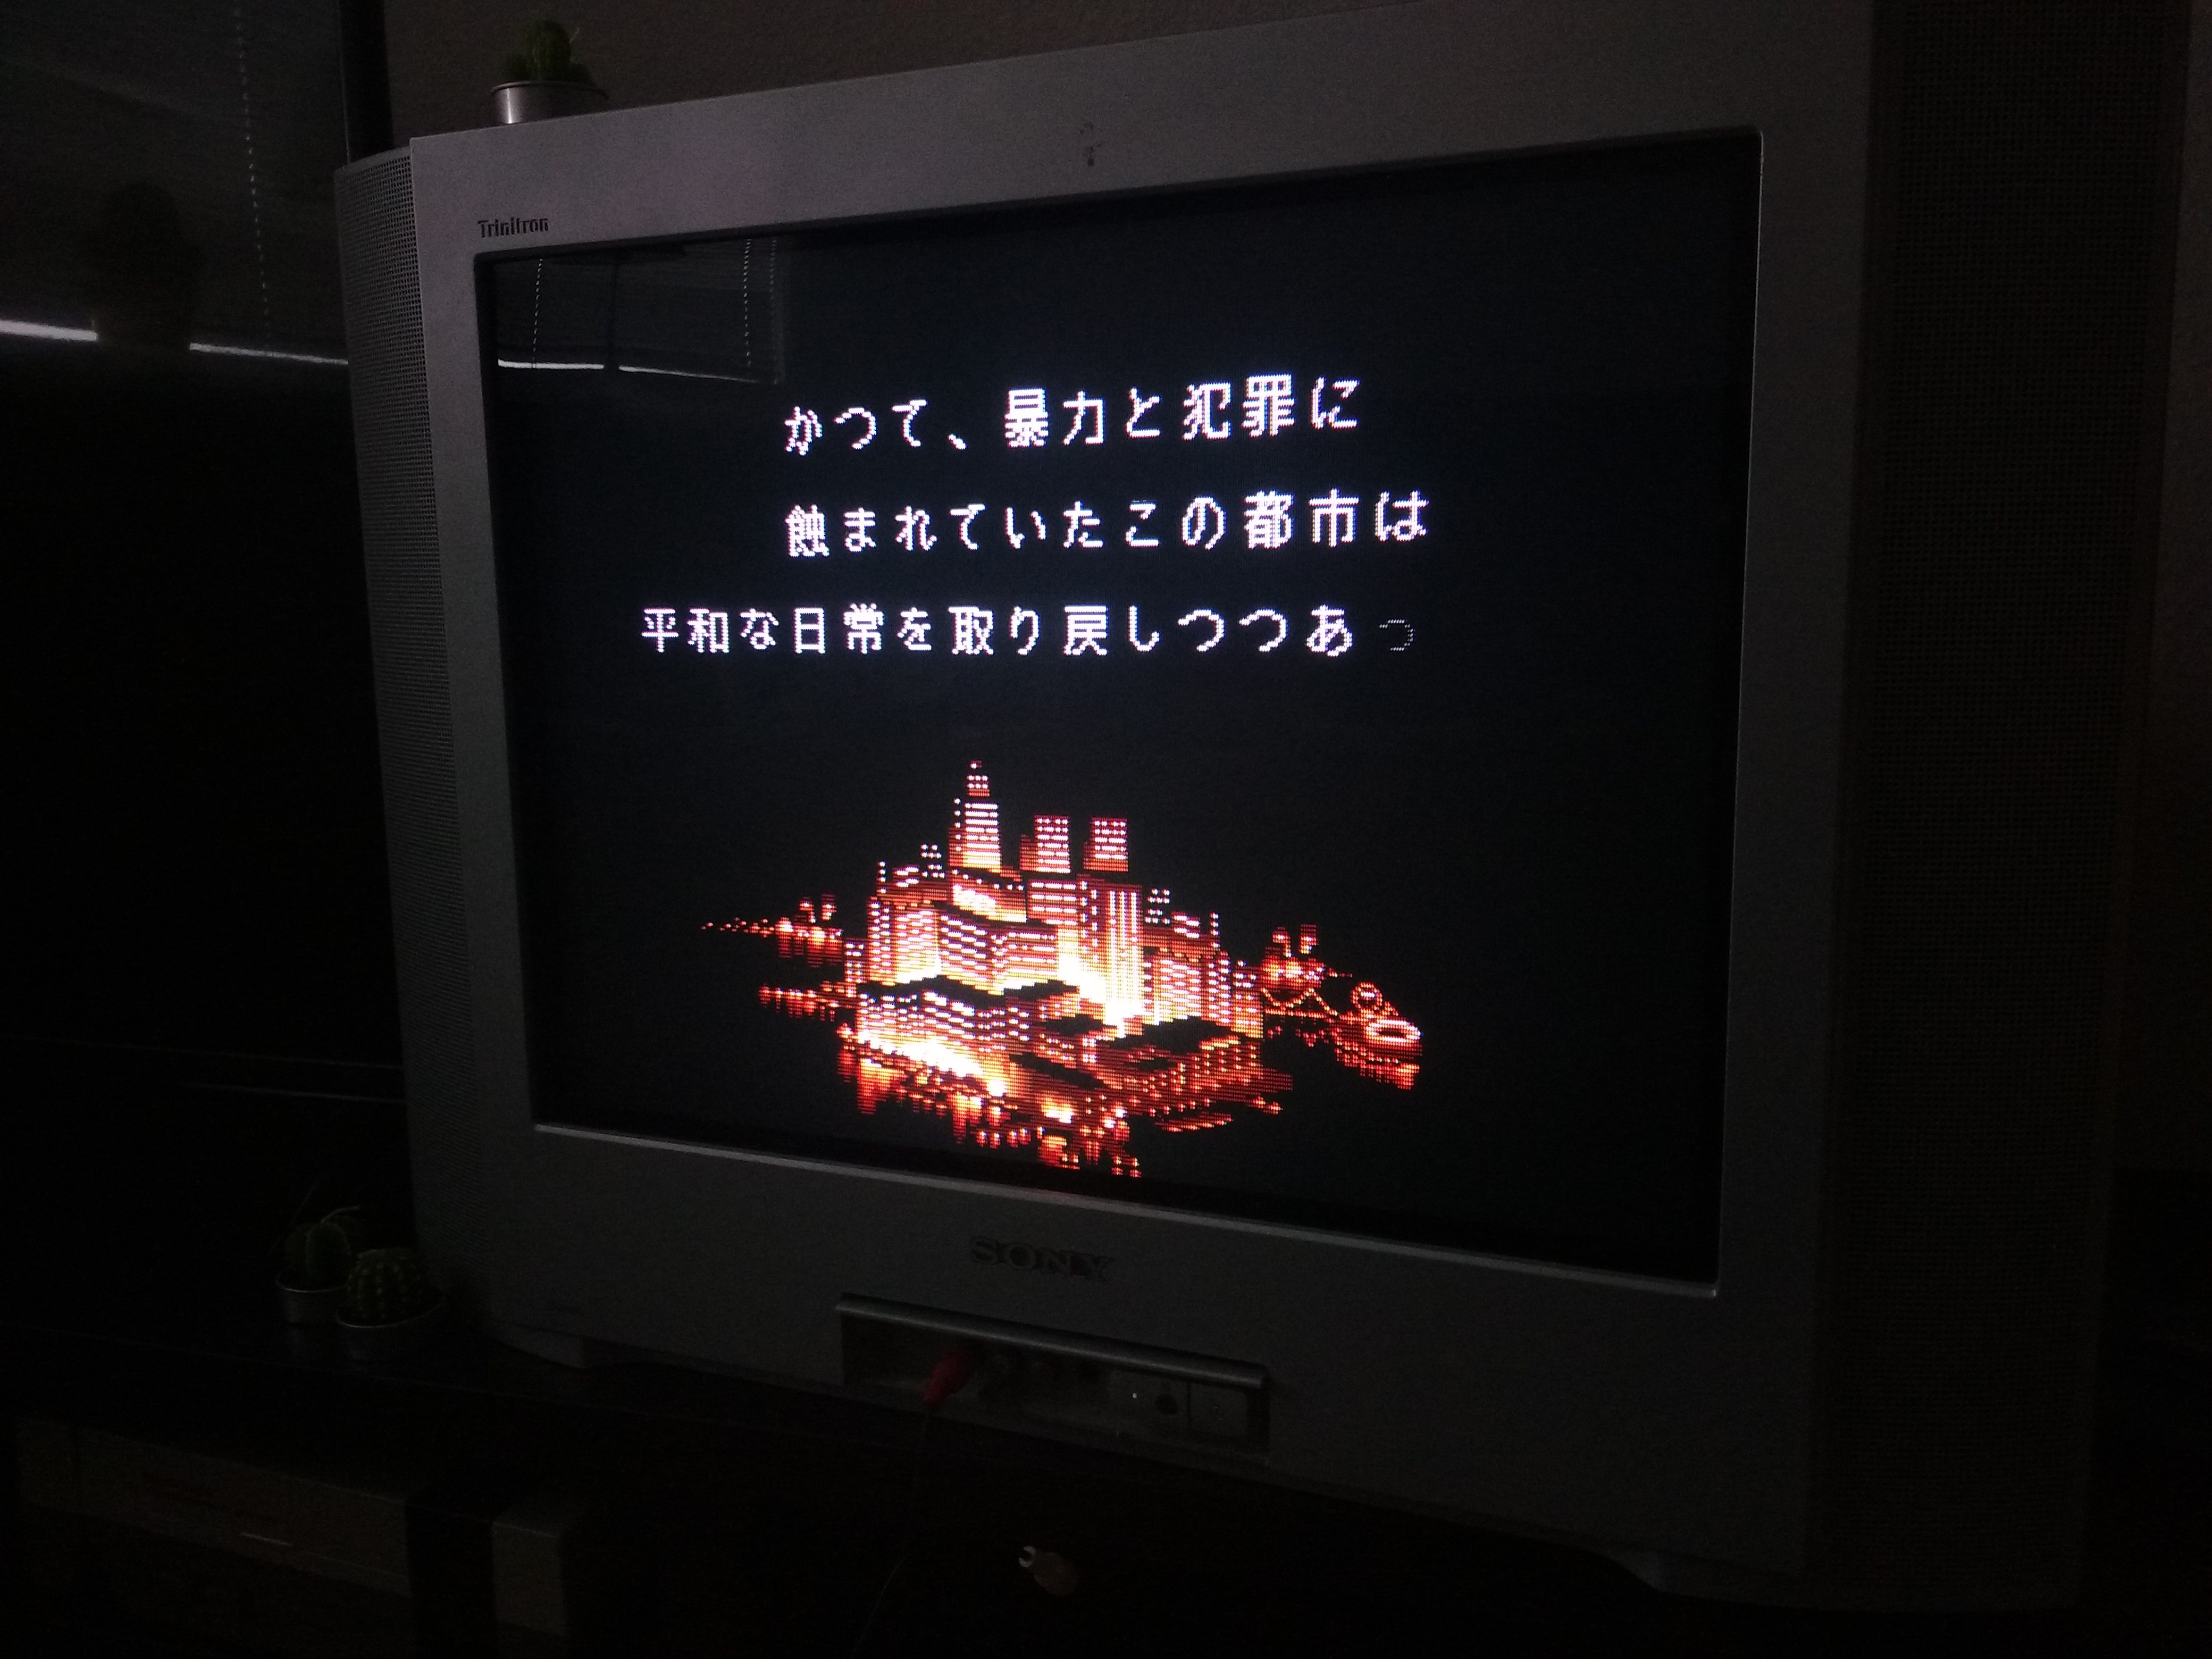
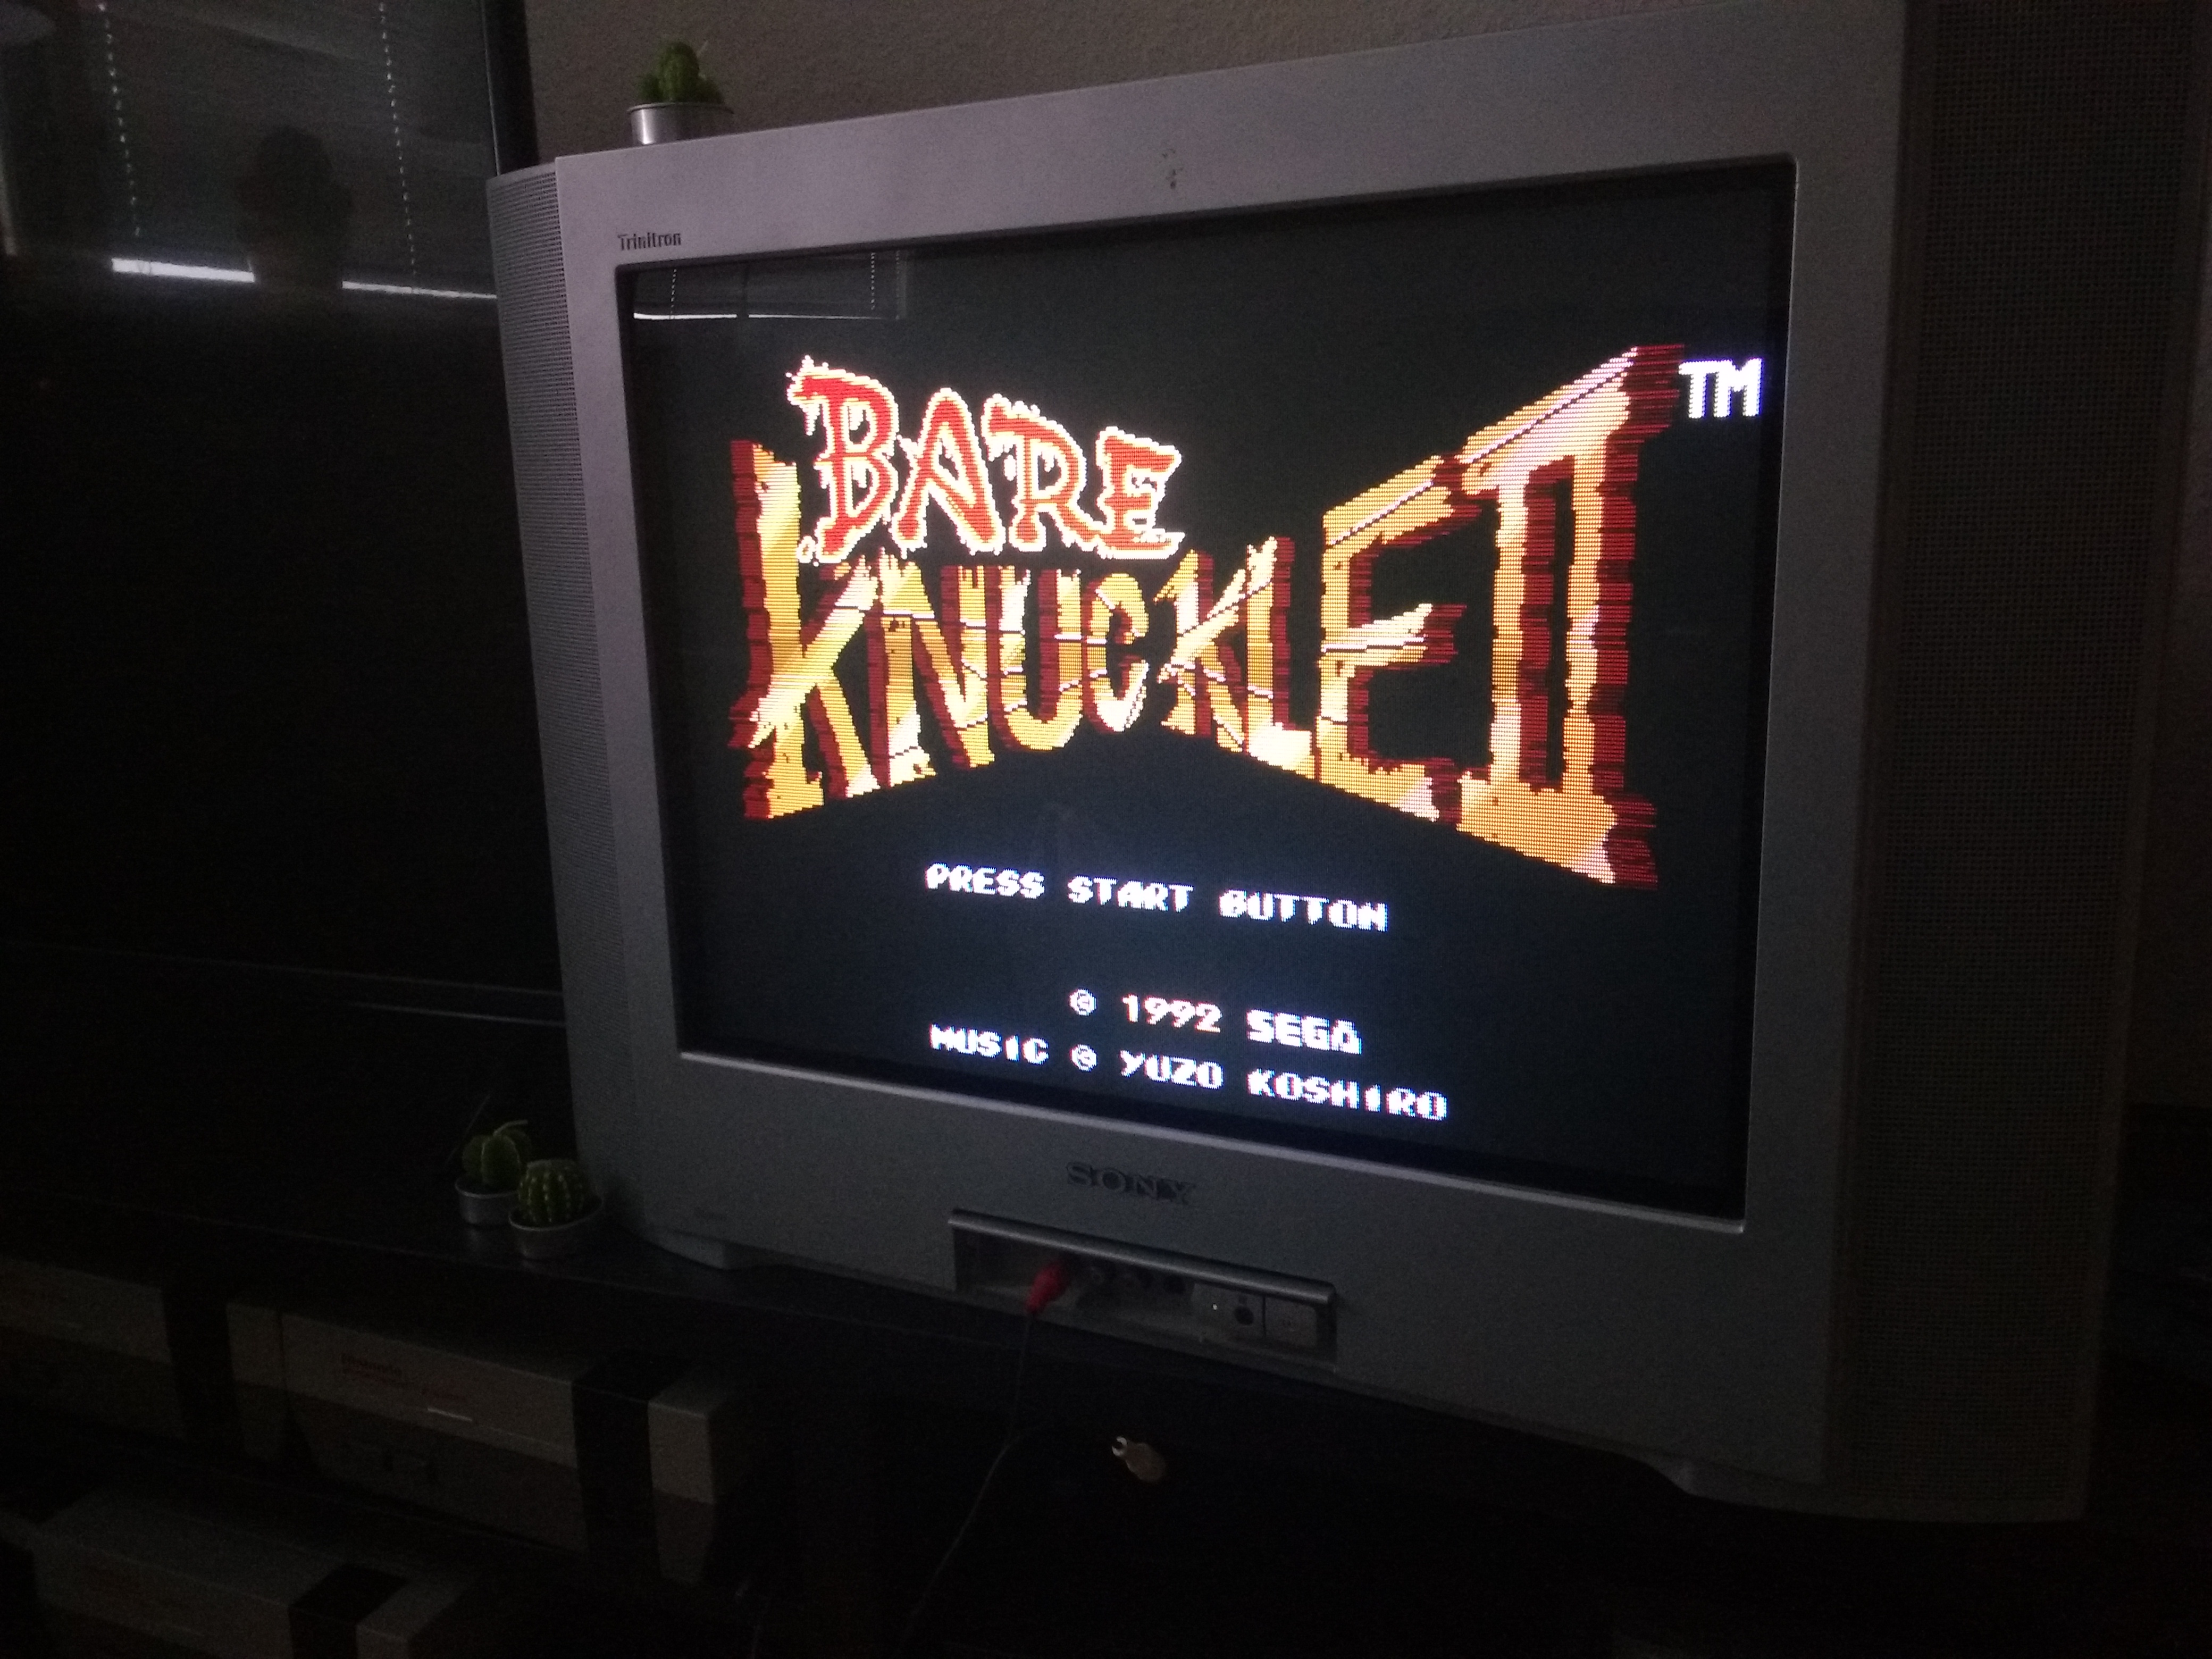
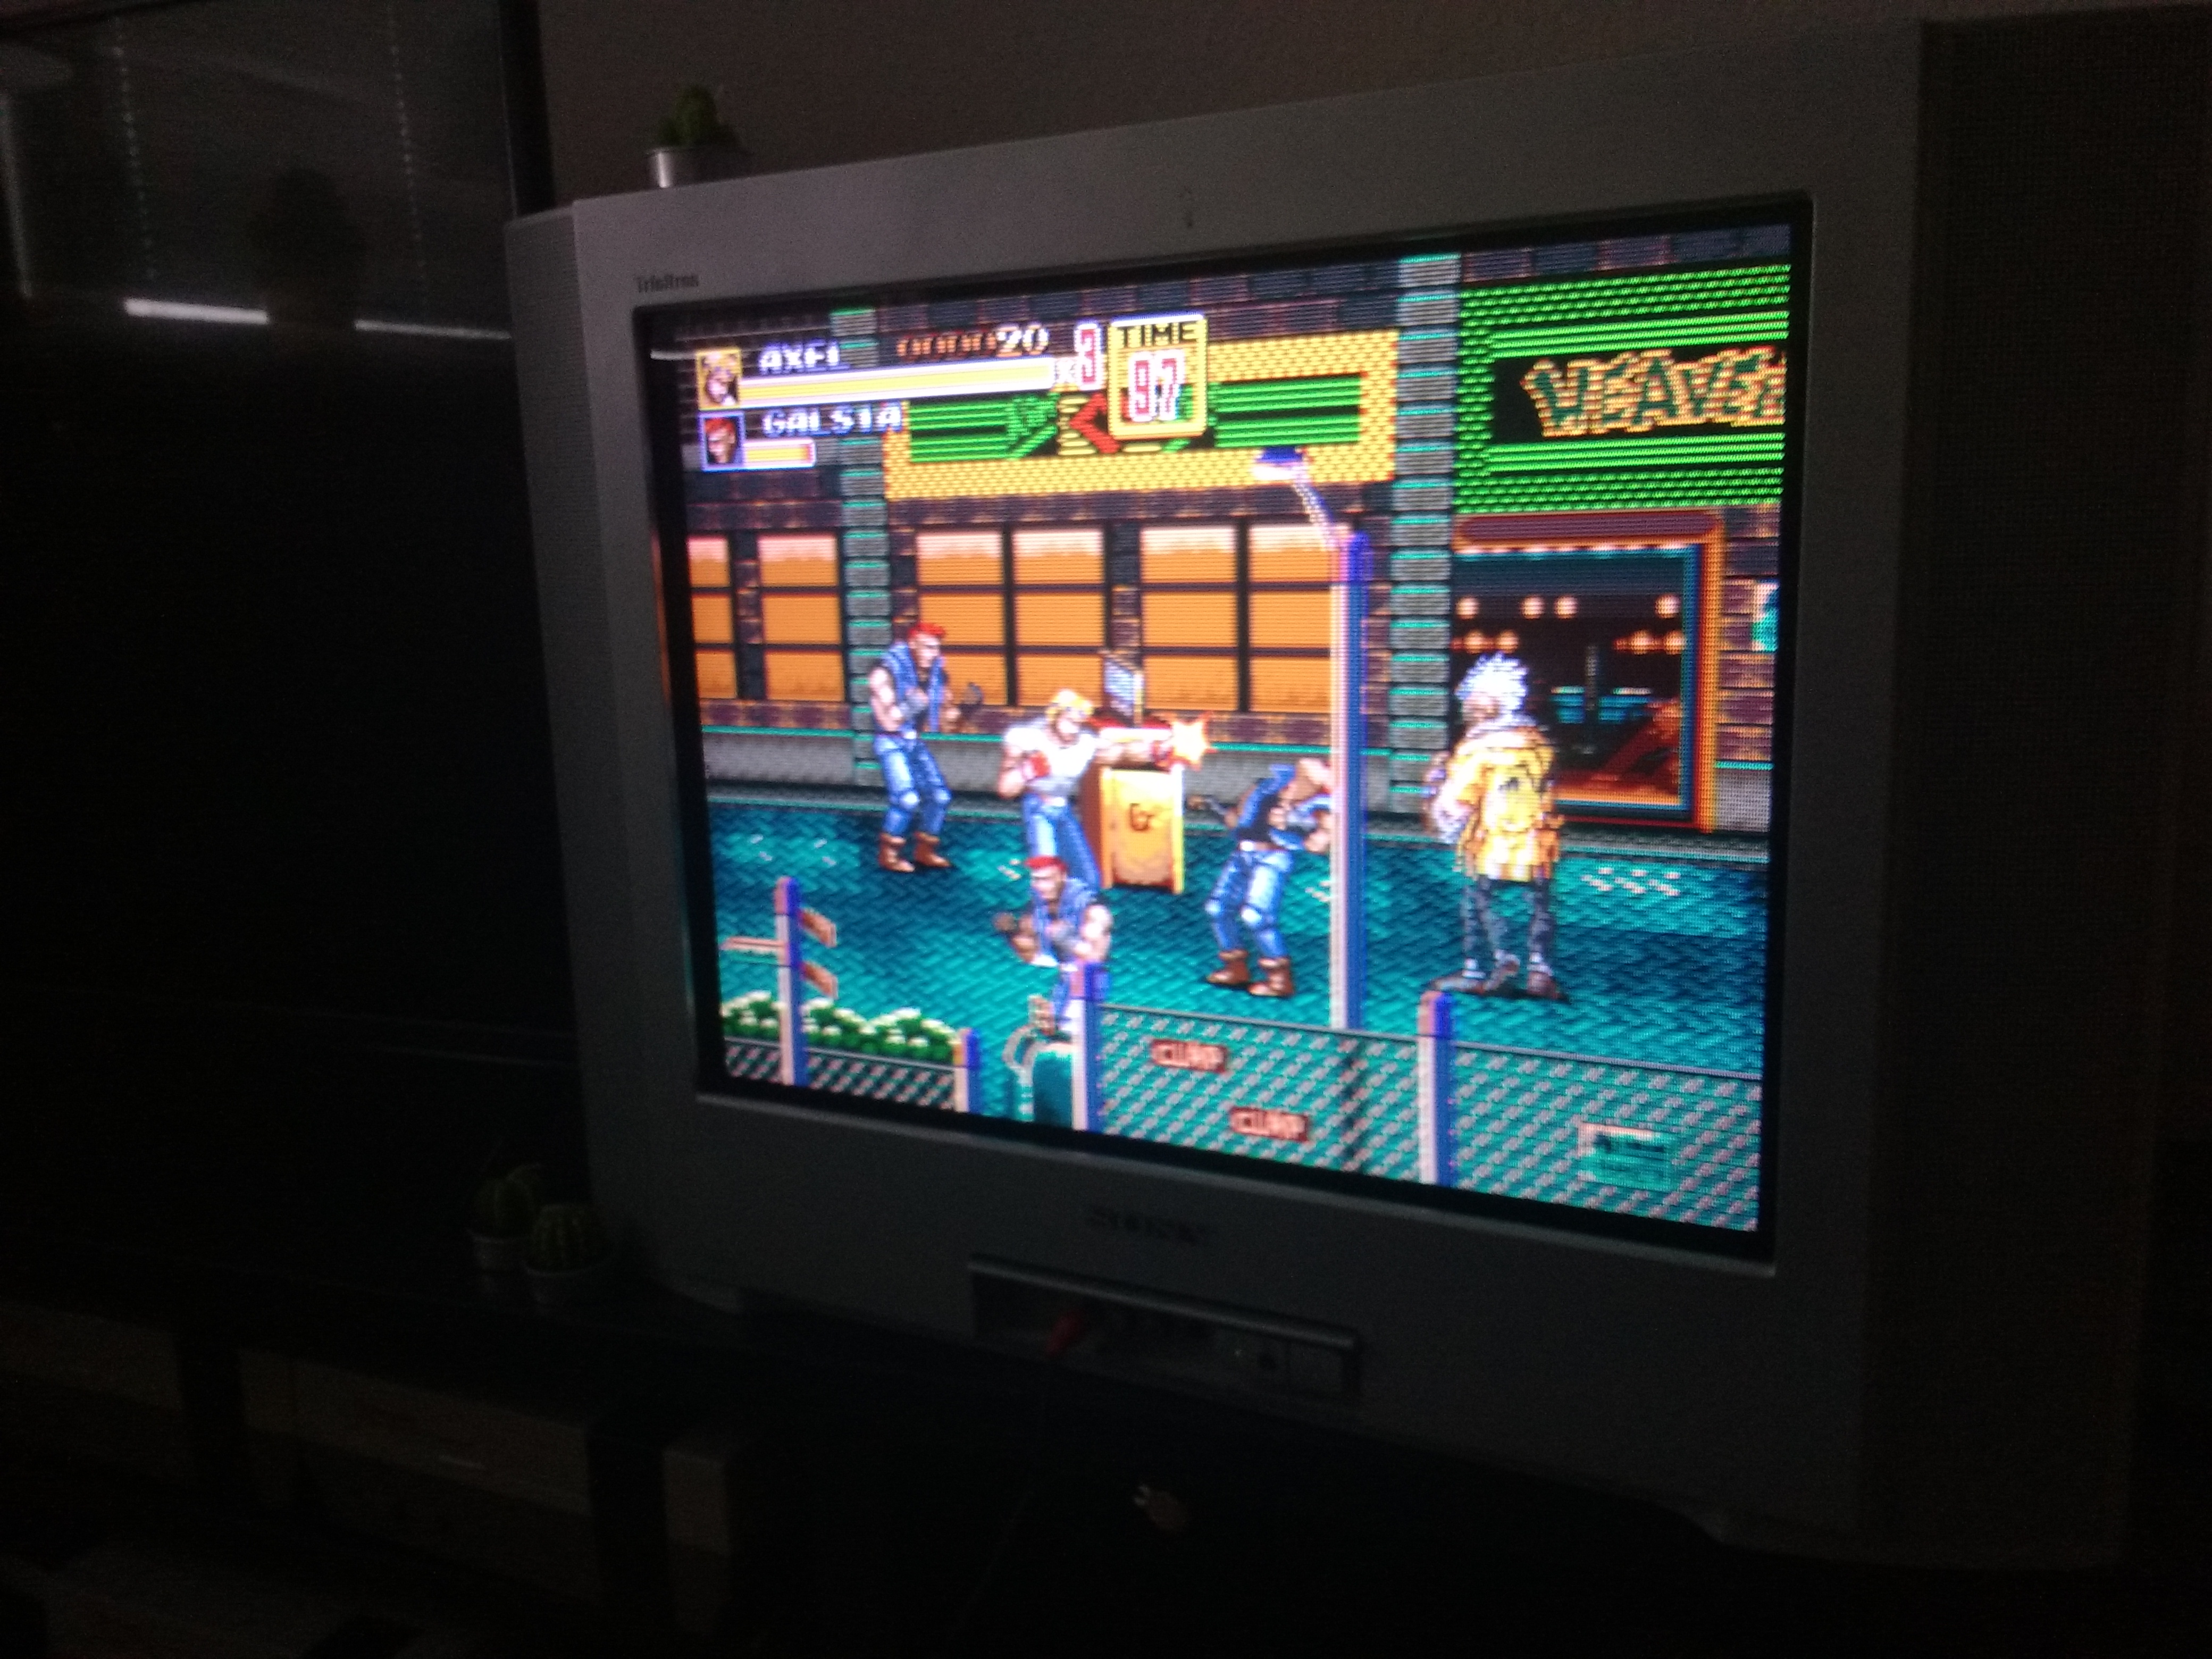
Alright time to try this out! I put in my cartridge of Streets of Rage II and put the console in US NTSC mode. On the screen it said something like “This game is not designed to be played on your Mega Drive”. Well alright then, some kind of region lock-out. But that means it works! I put the console in PAL mode and it booted like normally. Then I tried the JP NTSC mode, and for some reason it doesn’t have any region lock-out when running on a Japanese console.
So that’s it for now. All in all a very simple mod and I’d say a good beginners project. If you can hold a pencil and follow instructions, you can do this mod. Just imagine that the soldering iron is the pencil. 🙂
The one downside to this mod is that you won’t get a color picture in the NTSC modes using a composite cable. That’s because the crystal inside the Mega Drive is still the one for PAL signals. However, using RGB cables gets rid of that problem so it’s not a huge deal. And really you should be using RGB anyway because the composite out on the Mega Drive is really terrible. If you wanted you could install an NTSC crystal and hook both of them up to the switch to switch automatically but I don’t think I’m gonna bother with that.
Links
- Mega Drive Single-Switch Region Mod – The guide by Nico I used
Hi
Do you get a full screen on 60hz ntsc mode when using RGB scart ?
For some reason i don’t get a centered picture ! Shifts to the right leaving a black bar on the left side of the screen
Hey, and sorry for the late reply!
I do get a centered image using 60hz NTSC through RGB scart. Have you tried another TV? Another cable? Is the image fine using composite?
I’m far from an expert on this, but apparently it could be because of different sync methods in the cables not playing nicely with certain TV sets. I found this thread where someone was having similar issues using an RGB cable that had sync on luma. That thread is about an RGB modded N64 though.
Here’s another thread with a similar issue on someone else’s Mega Drive where some people are saying it’s because of composite sync.
The cable I have uses csync. It’s the one from Retro Gaming Cables.
Some TVs have a setting for RGB shift in the menu for correcting things like this. I know that my old Trinitron had that for example.